BEFORE STARTING
Please read the following warnings carefully before embarking on any of the cleaning procedures detailed below.
IKAWA Sample Roasters need little maintenance compared to many roasters because there is only 1 moving part. However, it still needs cleaning to ensure it’s in proper working order.
NOTE: We do not recommend cleaning the bottom of the roasting chamber and do not have a recommended method for doing so.
- DO NOT use TSP (trisodium phosphate) to clean the roaster. Although it is a great degreaser, it will etch/eat away at pure metals like the aluminum in your IKAWA.
- DO NOT use abrasives to scrub the chamber.
- DO NOT use any metal polishers.
- DO NOT clean if you have a Ultra Fast Sensor found in V2 models. They are very fragile and break easily. Please contact support@ikawacoffee.com
- DO NOT let dust or liquids fall down through the bottom of the roaster (through the louvres)
- DO NOT use the citric acid solution on painted surfaces, it can remove the paint.
- DO NOT attempt to clean the roaster whilst it is connected to a power supply.
- DO NOT embark upon the Light or Deep Clean unless you have the correct Felt Absorbing Cover (Foam Disc).
Note: Failing to follow these maintenance instructions or the use of anything not recommended here may damage the unit and invalidate the warranty. For reference, the guide images are a Pro V3.
There are four sets of instructions.
CLEANING THE LID
Equipment
- 1 drop mild dish soap (washing up liquid)
- 30mL (1T) of water
- Cloth
DIRECTIONS
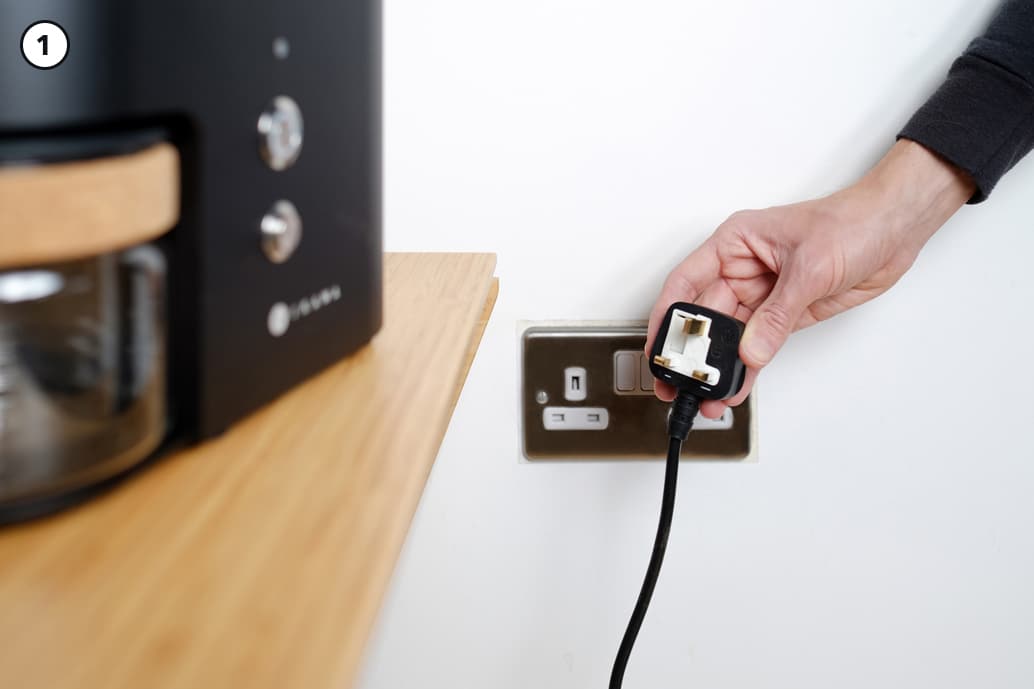
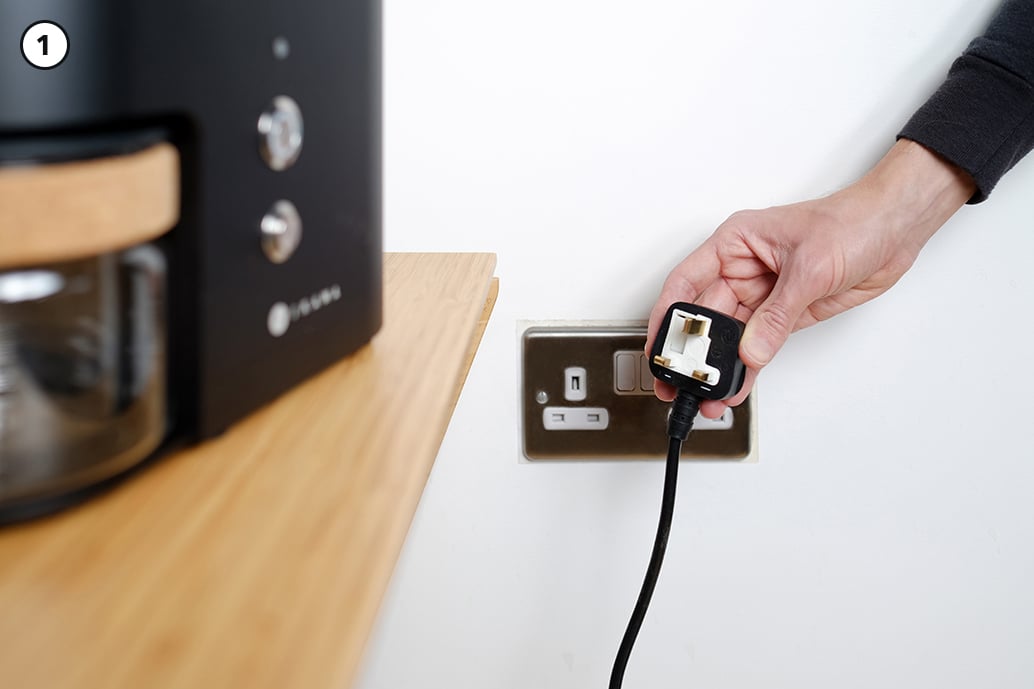
- Disconnect your IKAWA from the mains. (Unplug the power cable)
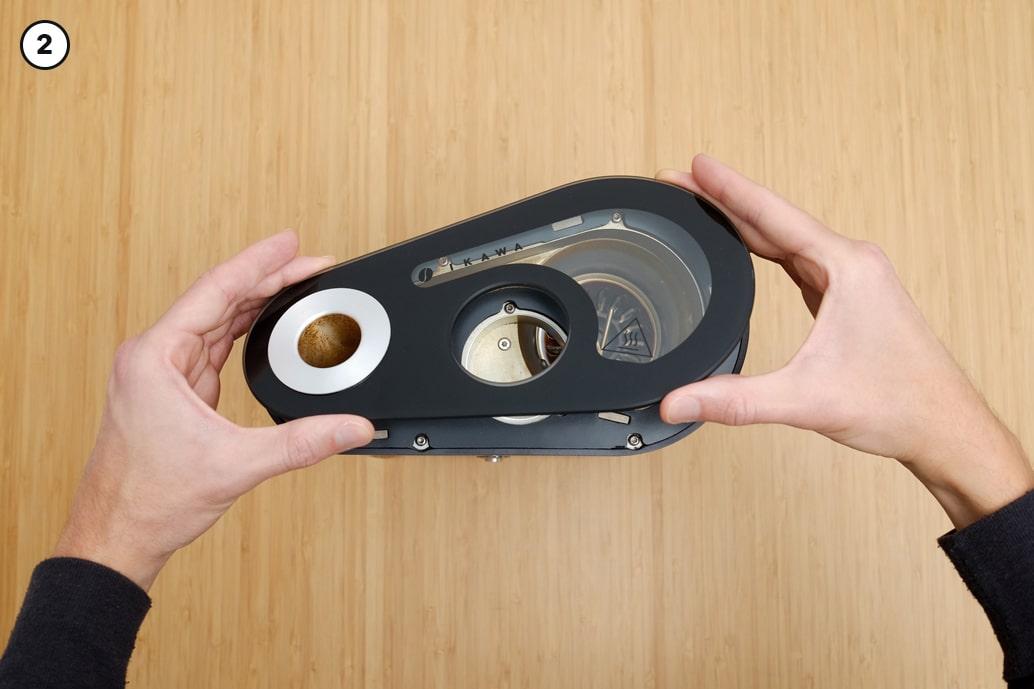
- Remove the lid of the roaster. To do so, simply pry it off, it is held in place only with magnets.
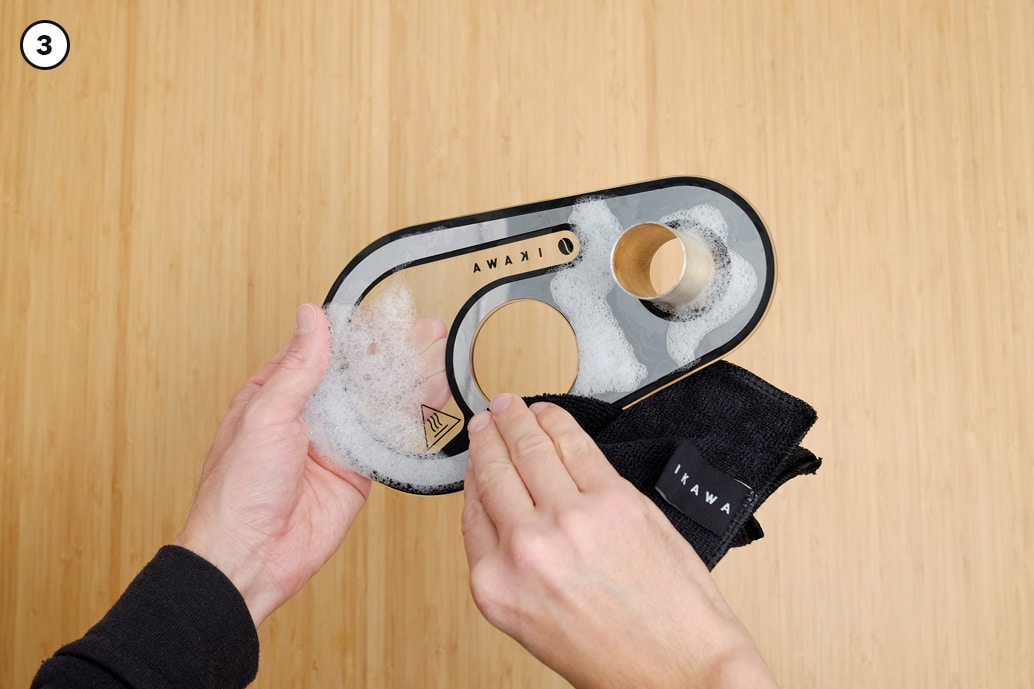
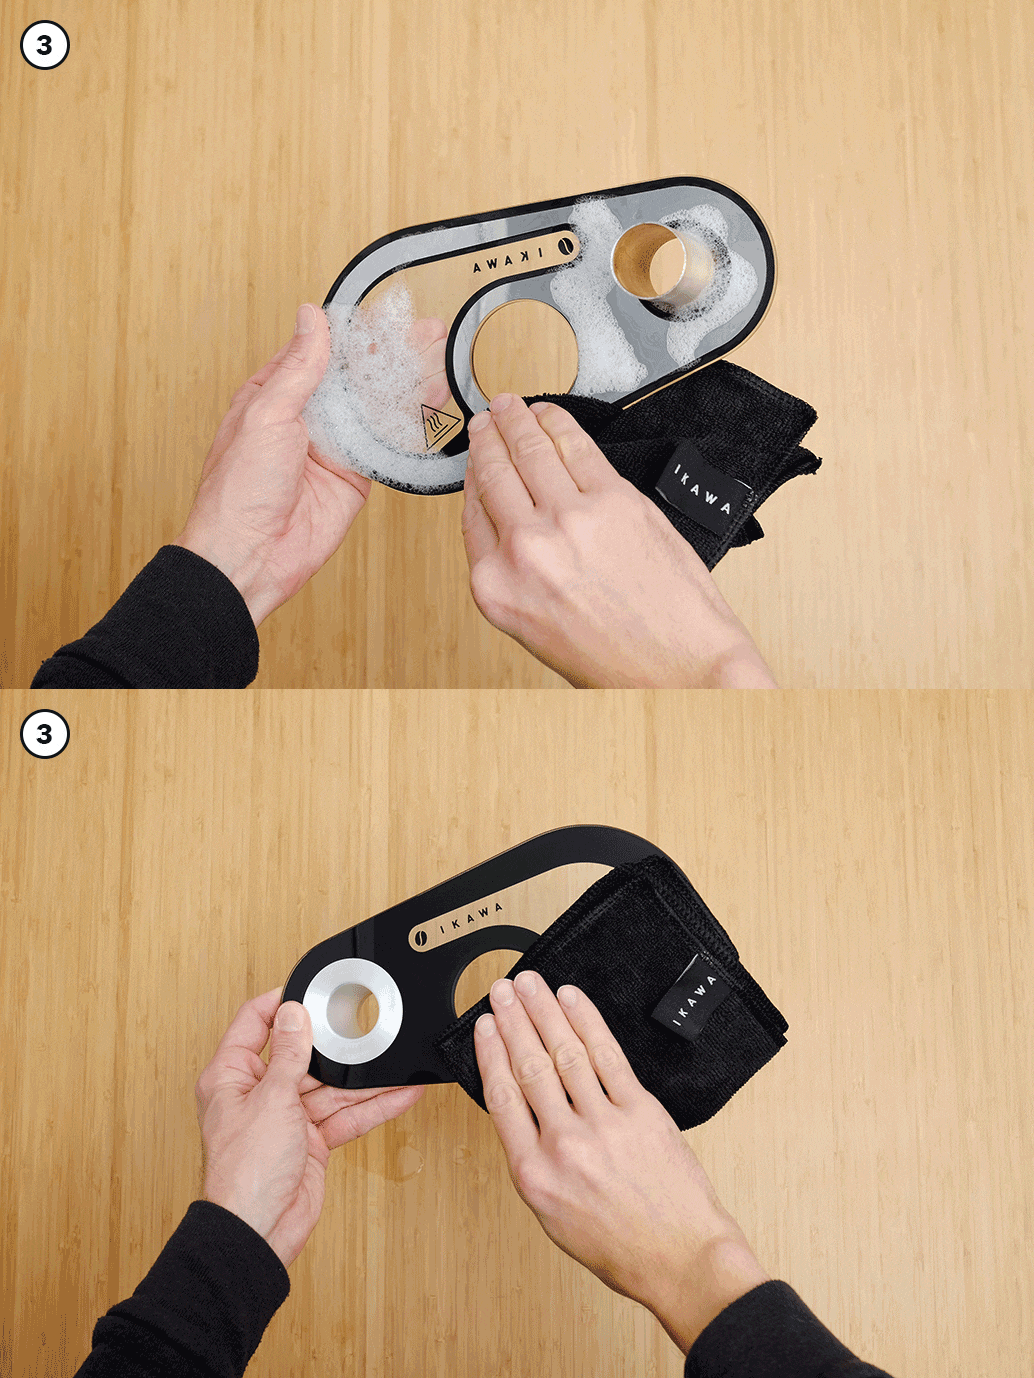
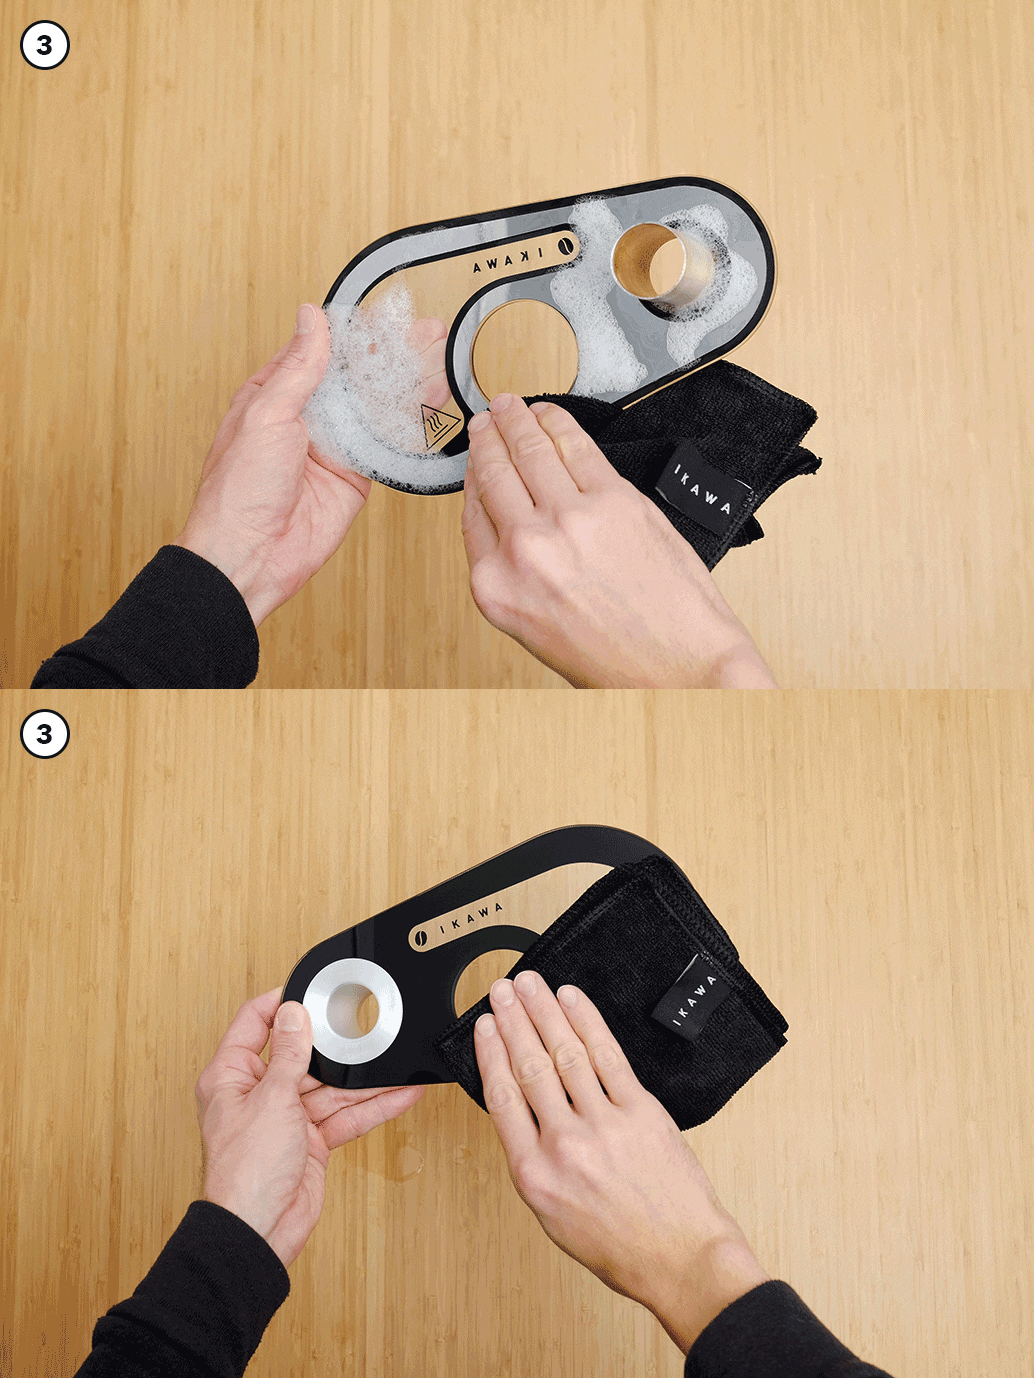
- Add 1 drop of mild washing up liquid (dish soap) to 15ml (1T) of water and mix. Then using a cloth (we recommend microfibre or a soft duster) wipe the glass until it is clear.
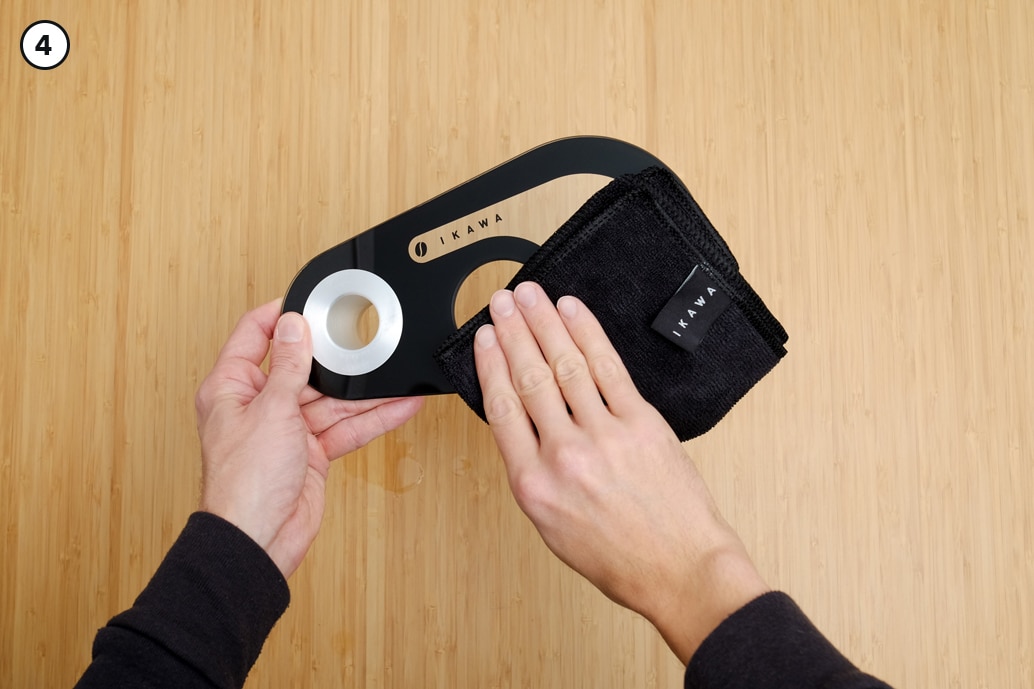
- Using a dry cloth or towel, wipe the lid to ensure there is no residual moisture after cleaning.
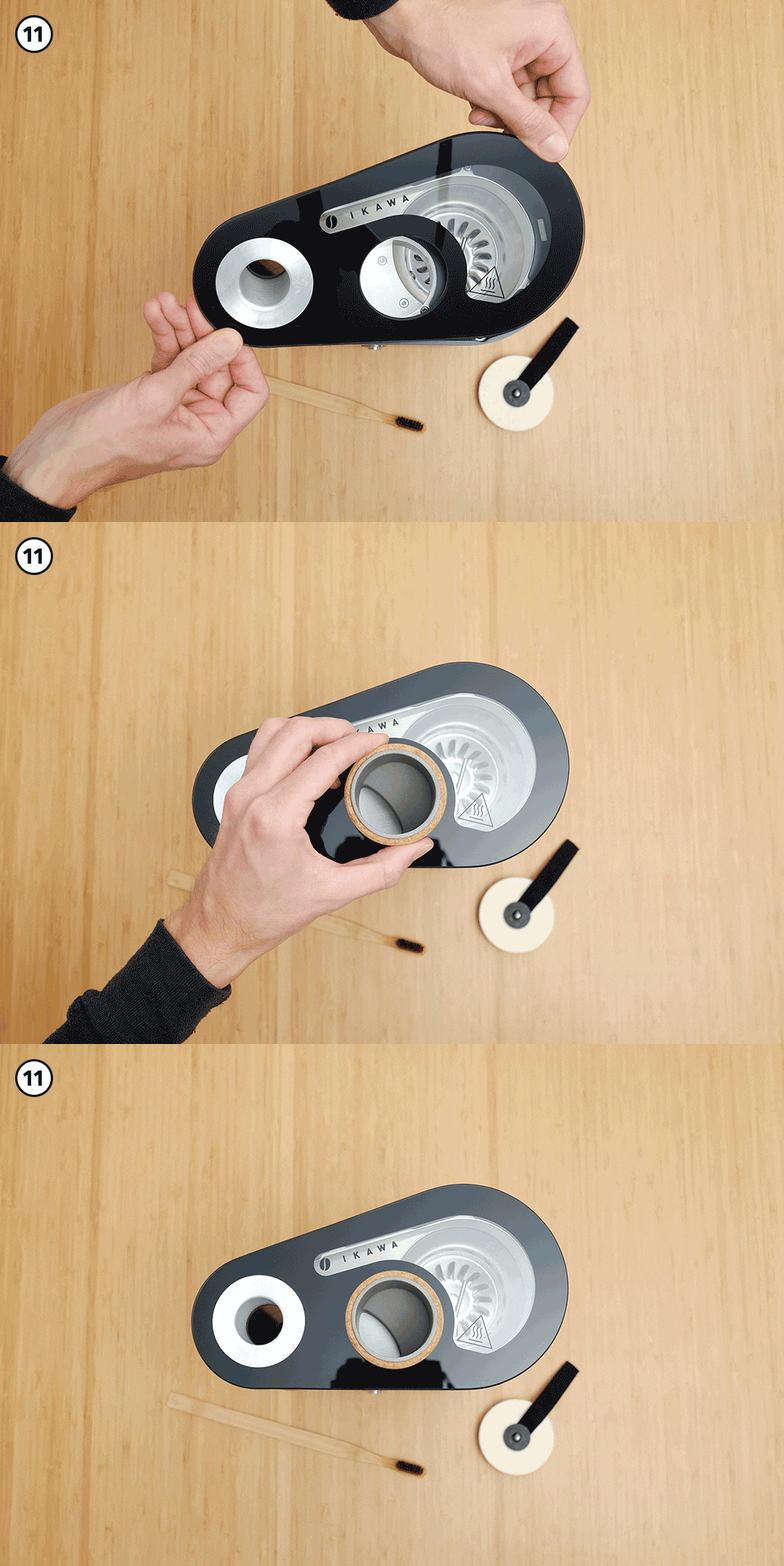
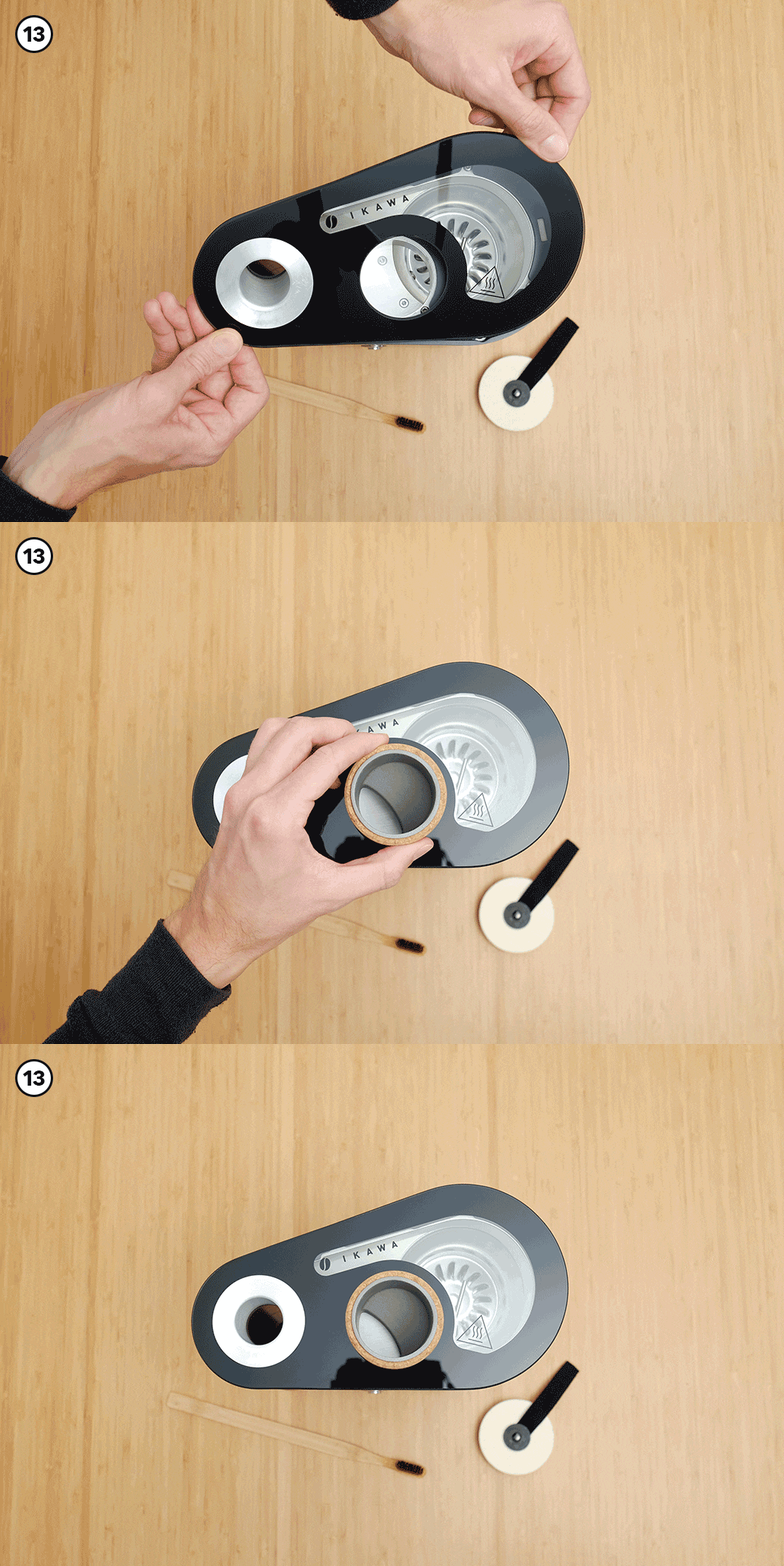
- Gently lower the lid back into place, before reinserting the doser.
LIGHT CLEAN
(less than 50 roasts since last clean)
Equipment
- Toothbrush
- Felt Absorbing Cover
- 1 drop mild dish soap (washing up liquid)
- 30mL (1T) of water
- 1g of citric acid powder (no more than 1.5g)
- Cloth
DIRECTIONS
- Disconnect your IKAWA from the mains. (Unplug the power cable)
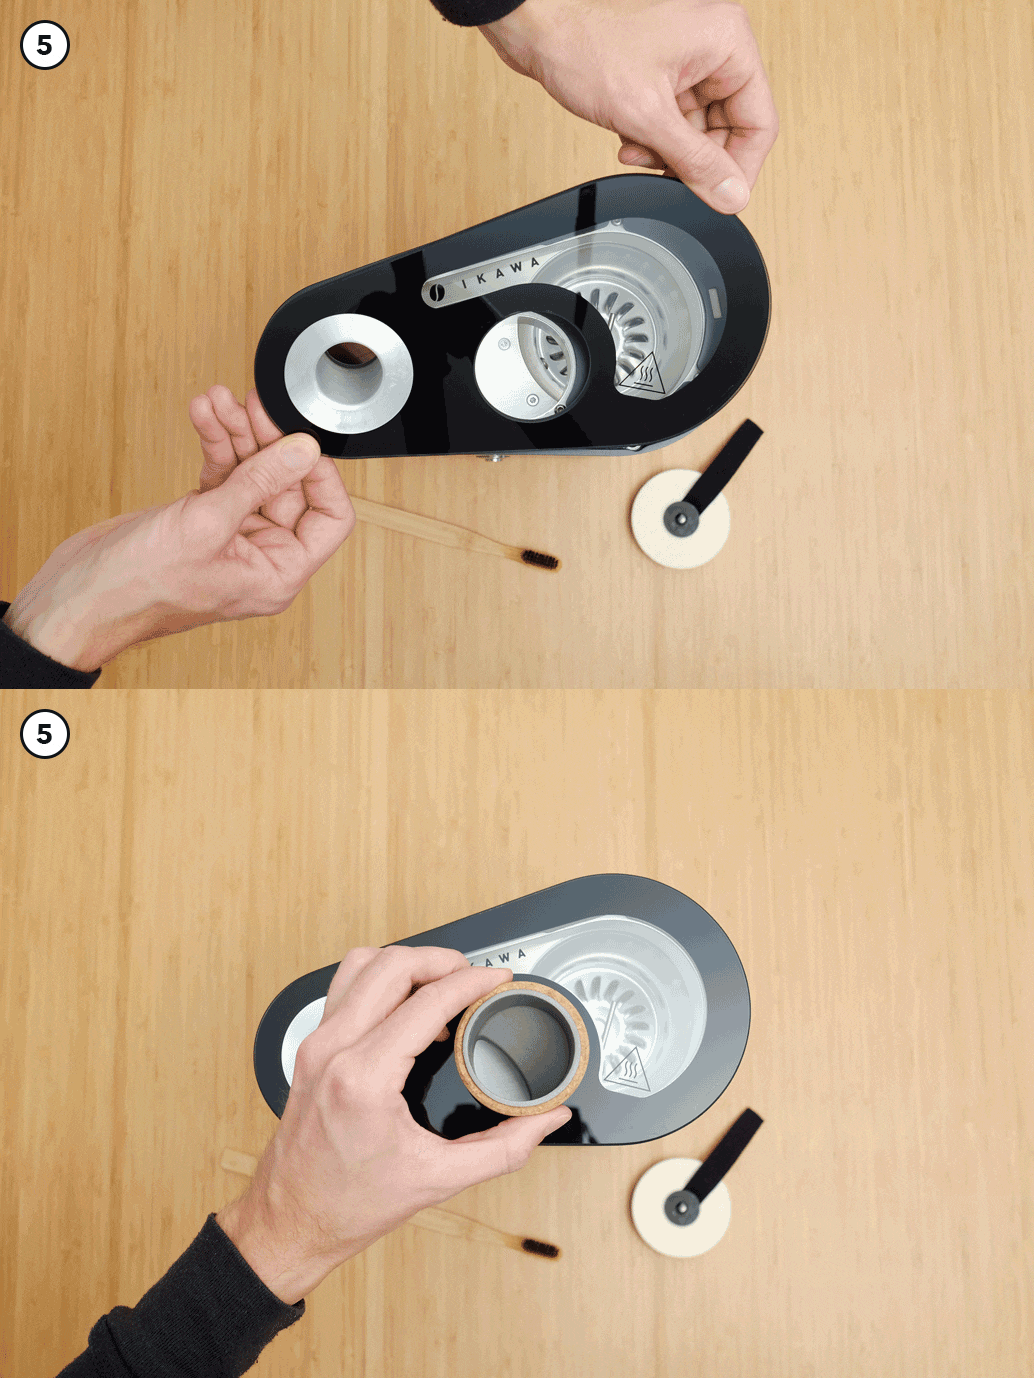
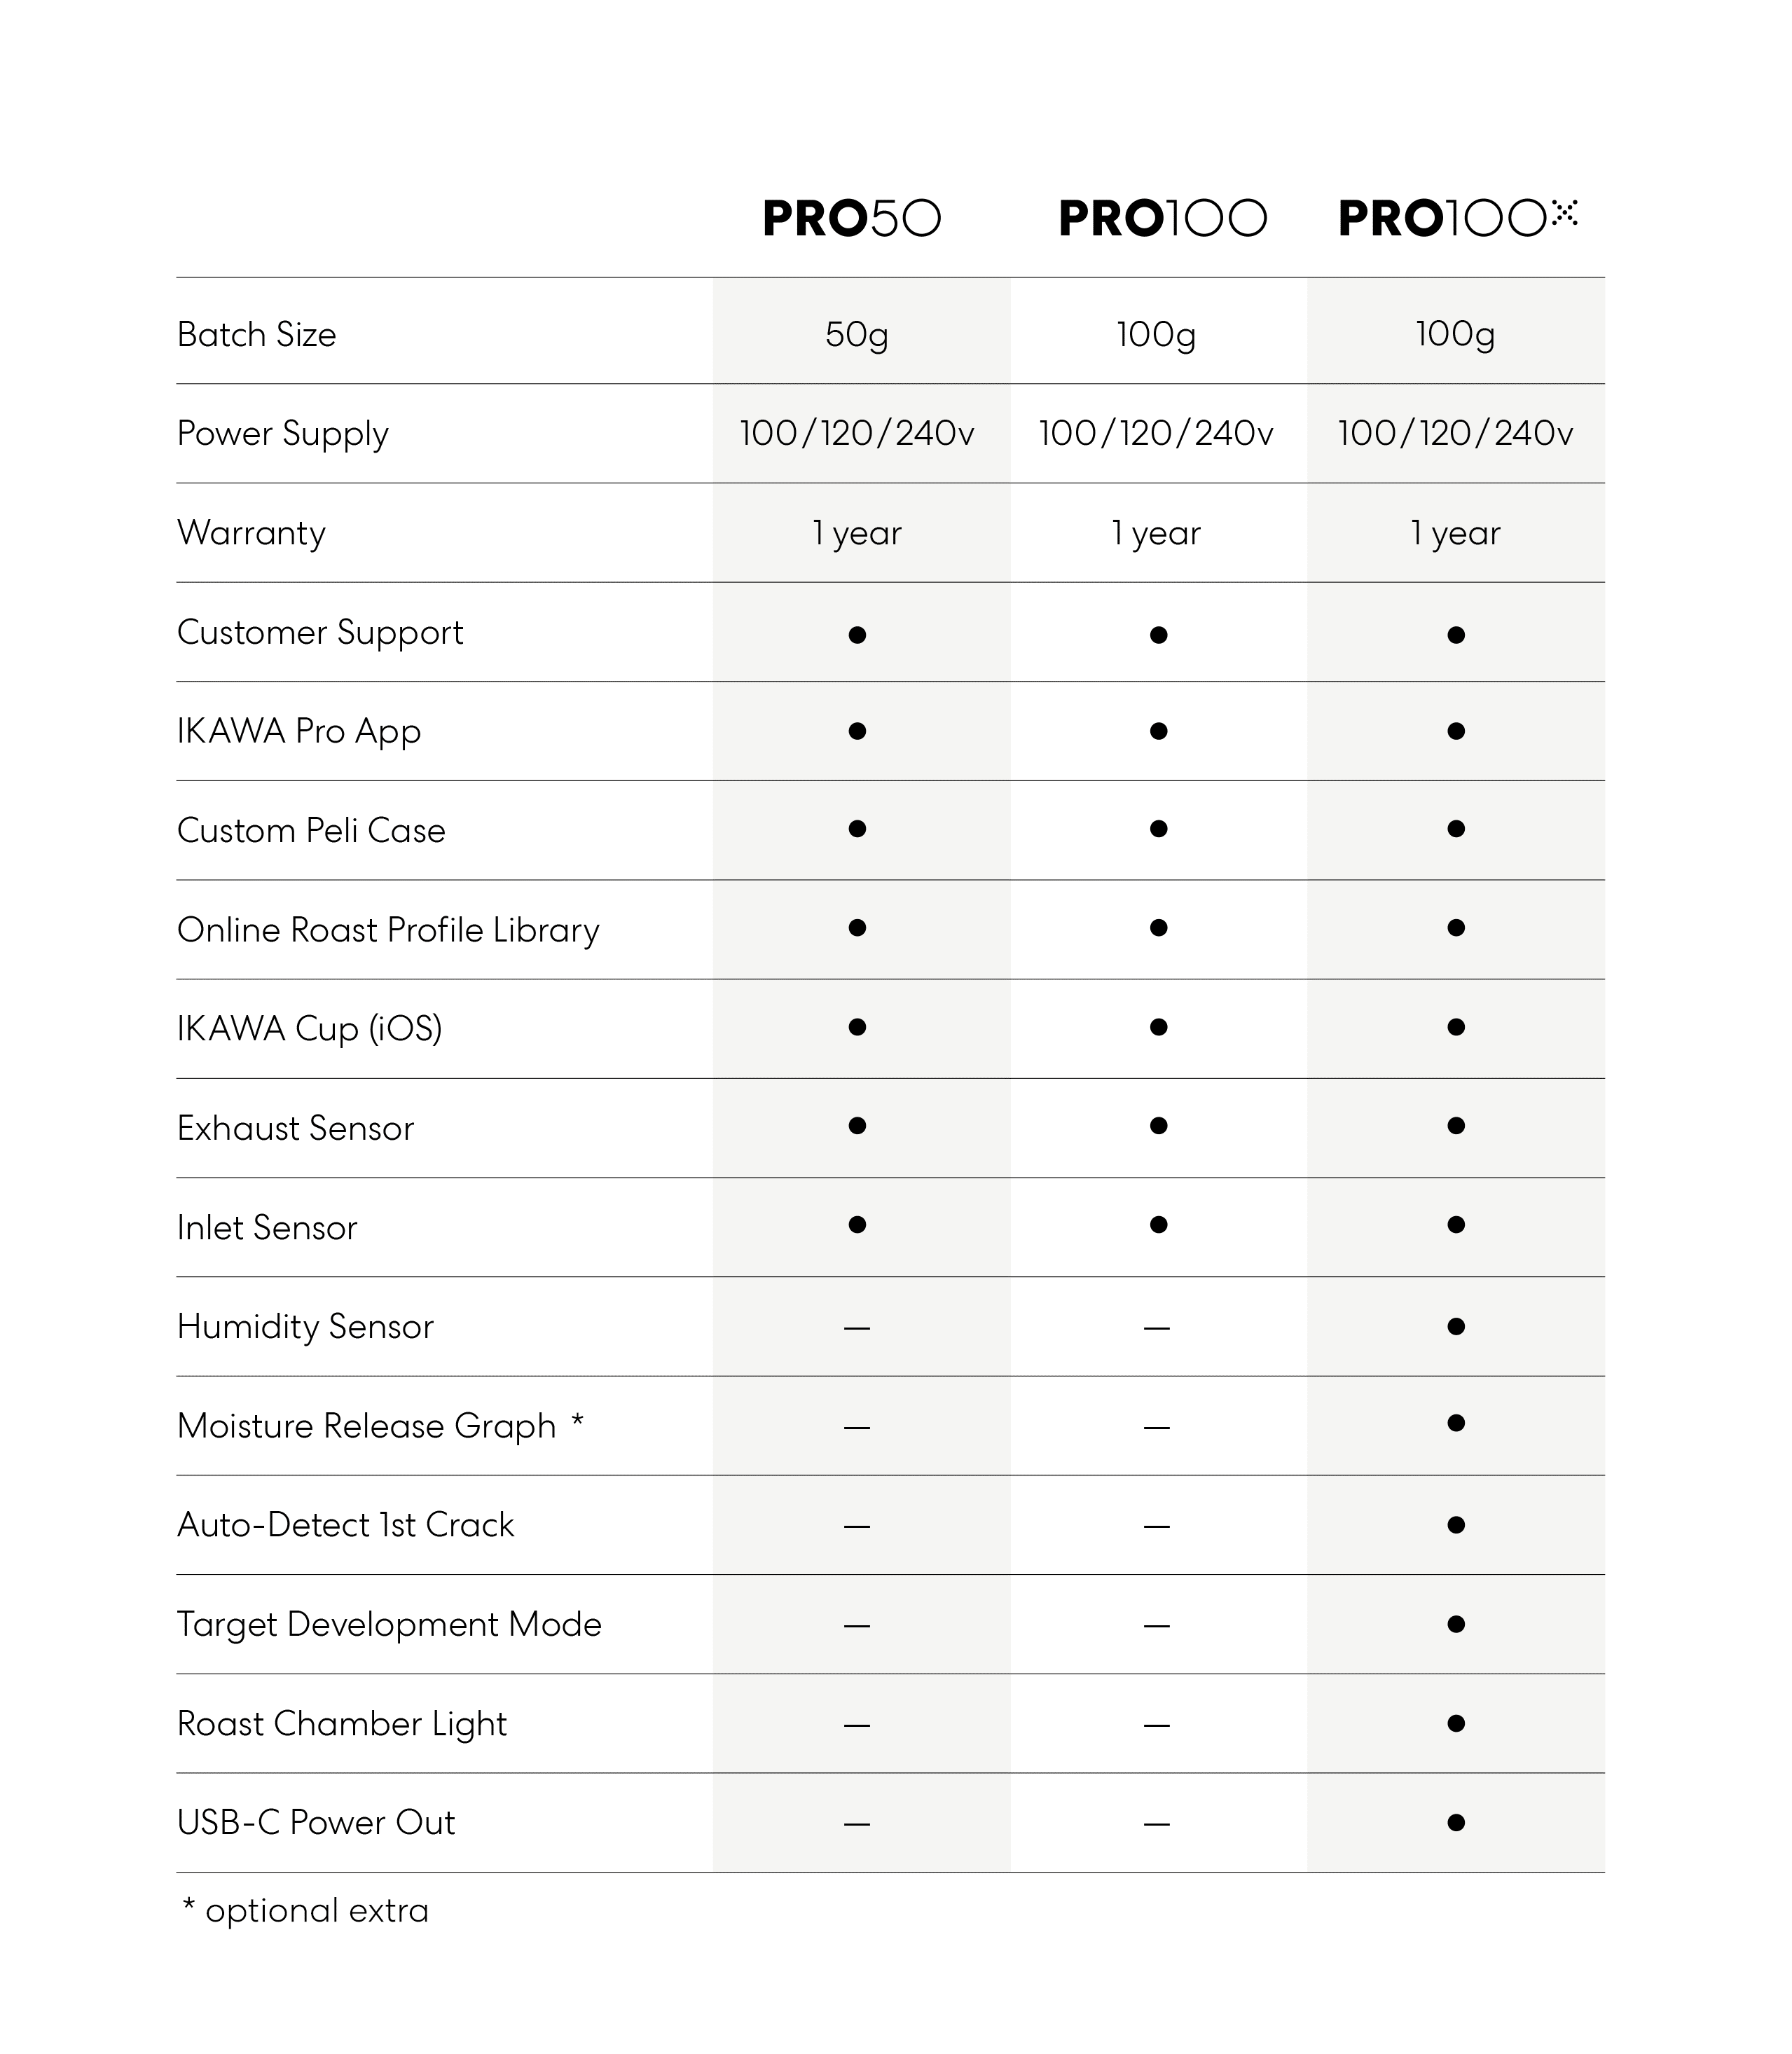
- Remove the lid of the roaster. To do so, simply pry it off, it is held in place only with magnets. (Note! Pro X models users should also now remove the Humidity Exit Spigot and replace with the exit cap to ensure water does not fall down the humidity pipe)
- Clean the lid with soap and water and towel dry.
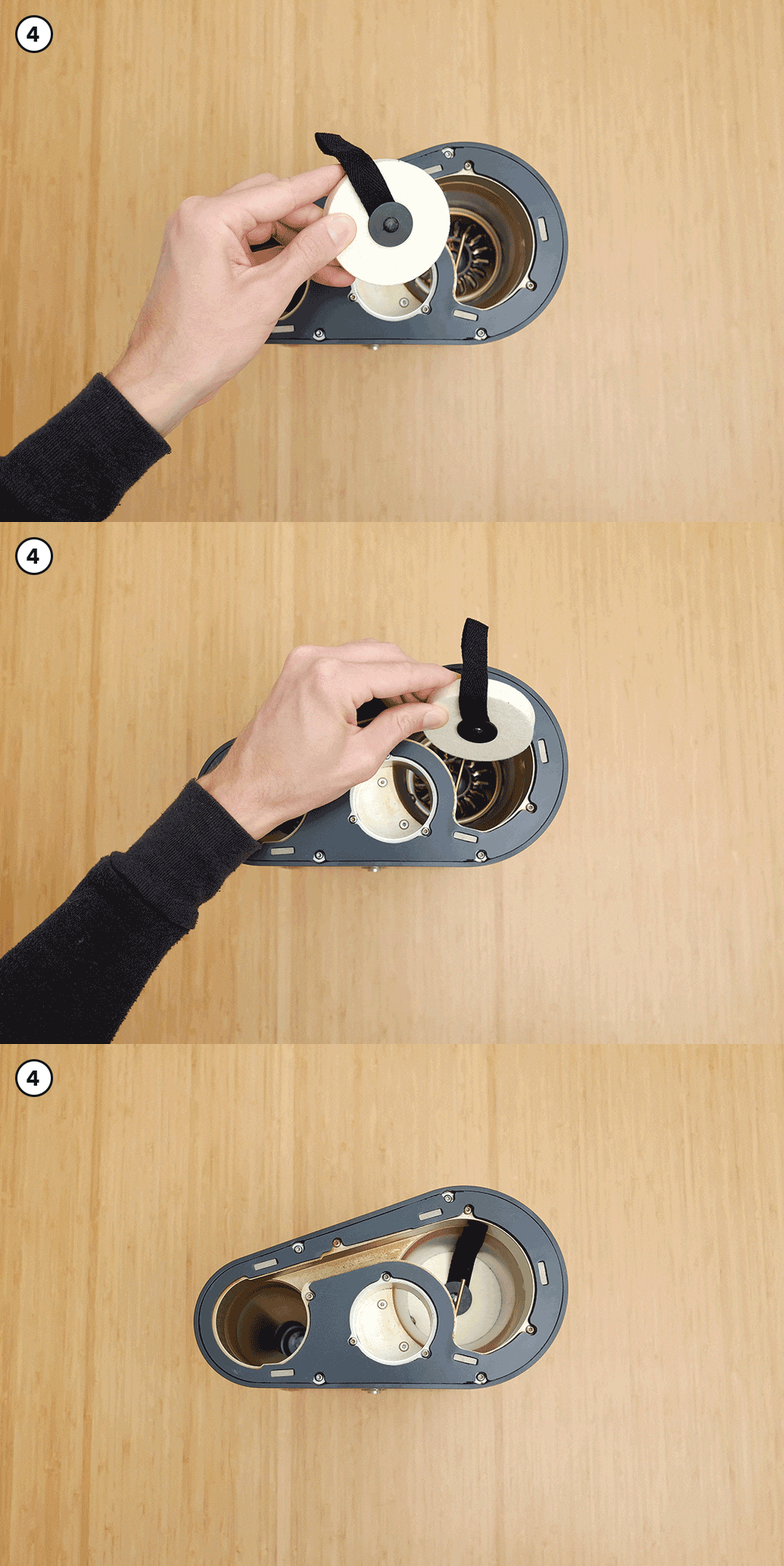
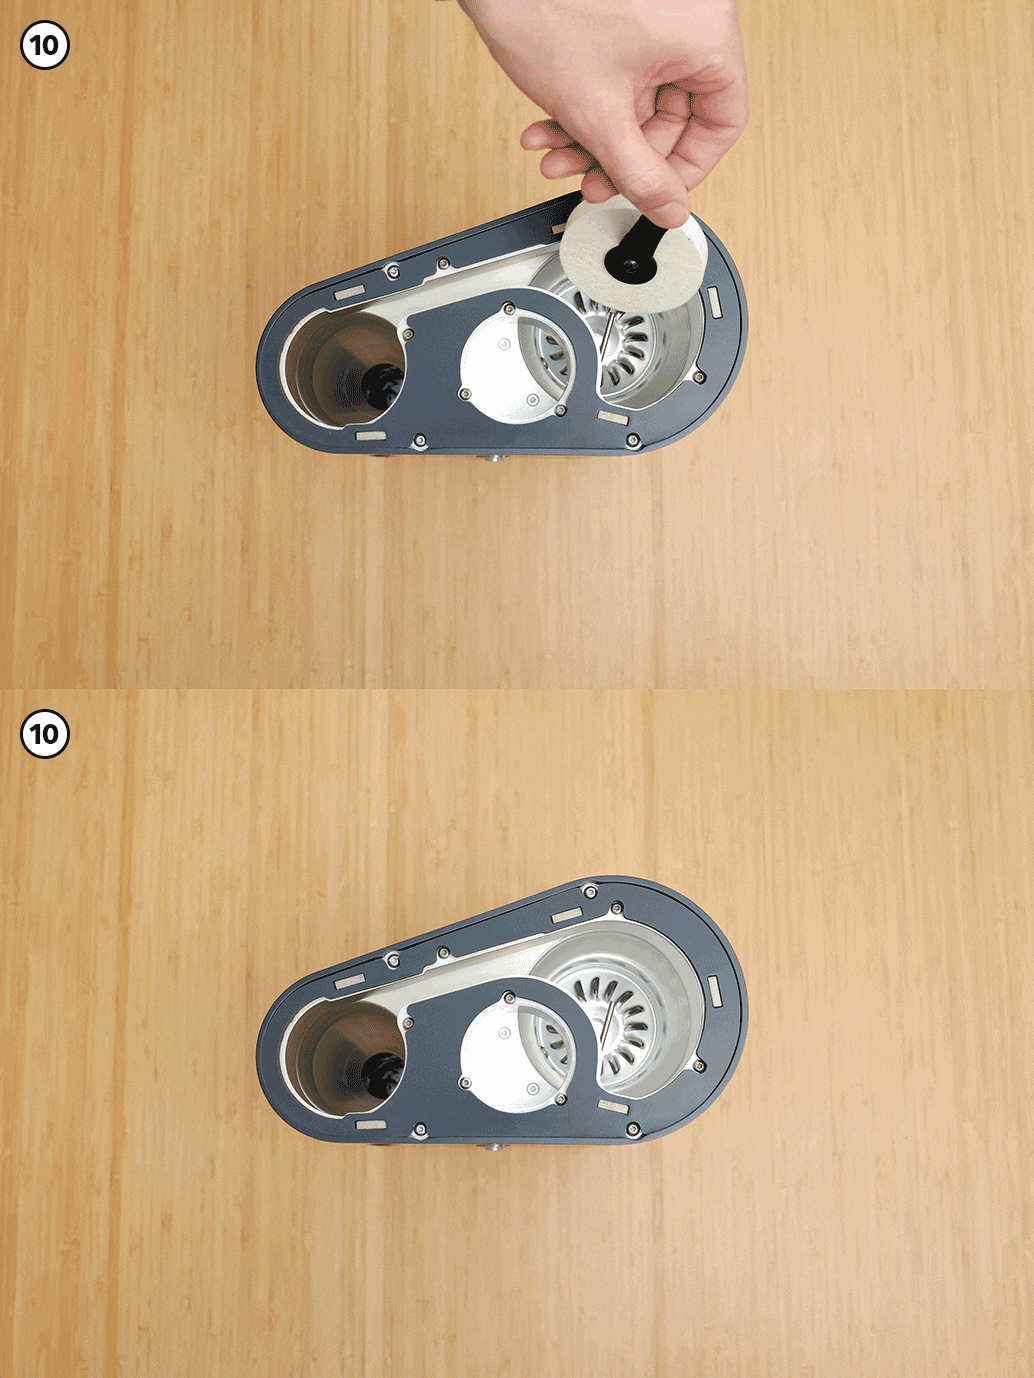
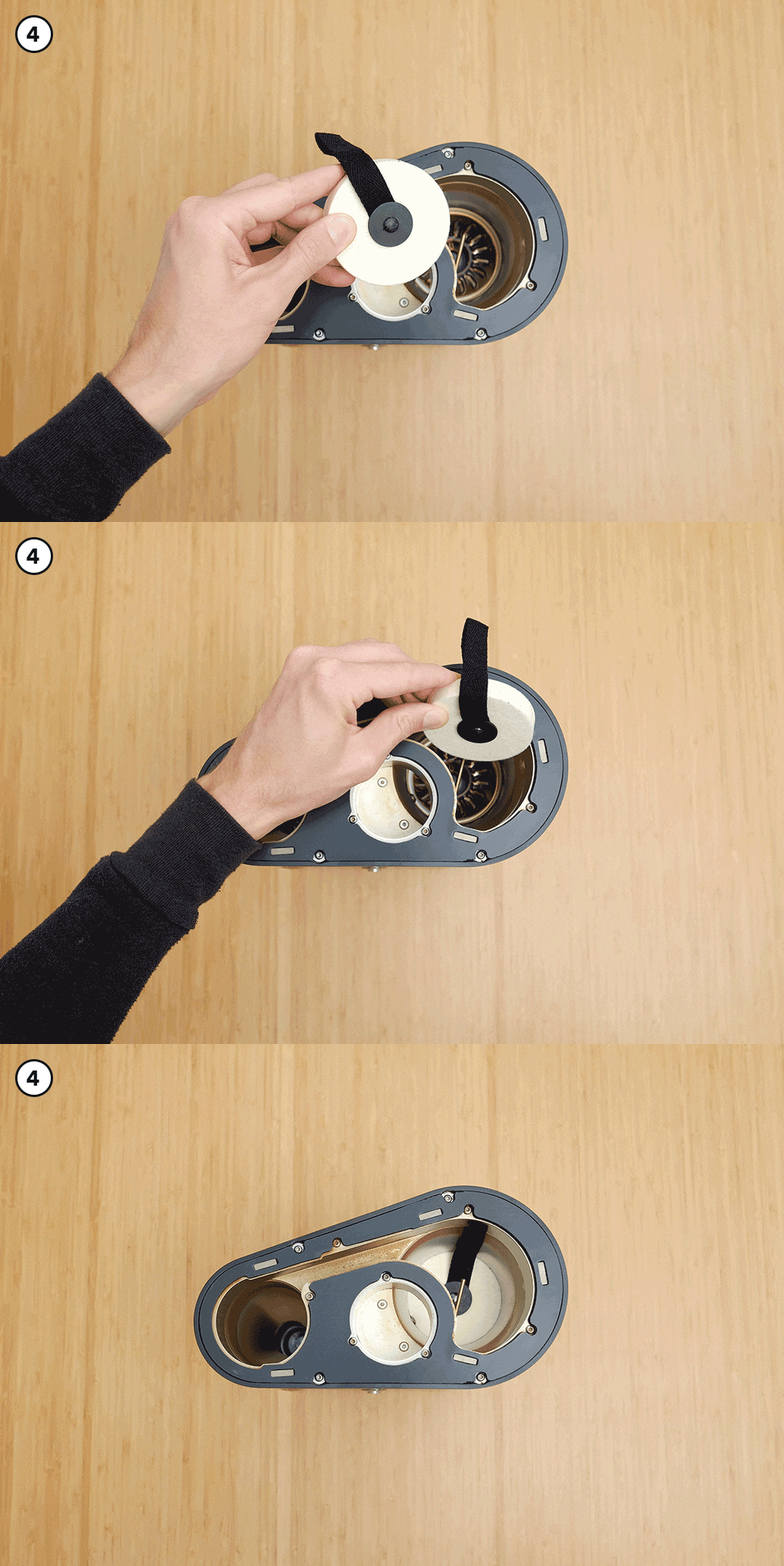
- Add the felt Absorbing Cover to the bottom of the Roasting Chamber. This ensures liquid and any loose chaff do not fall through the louvre vents at the bottom.
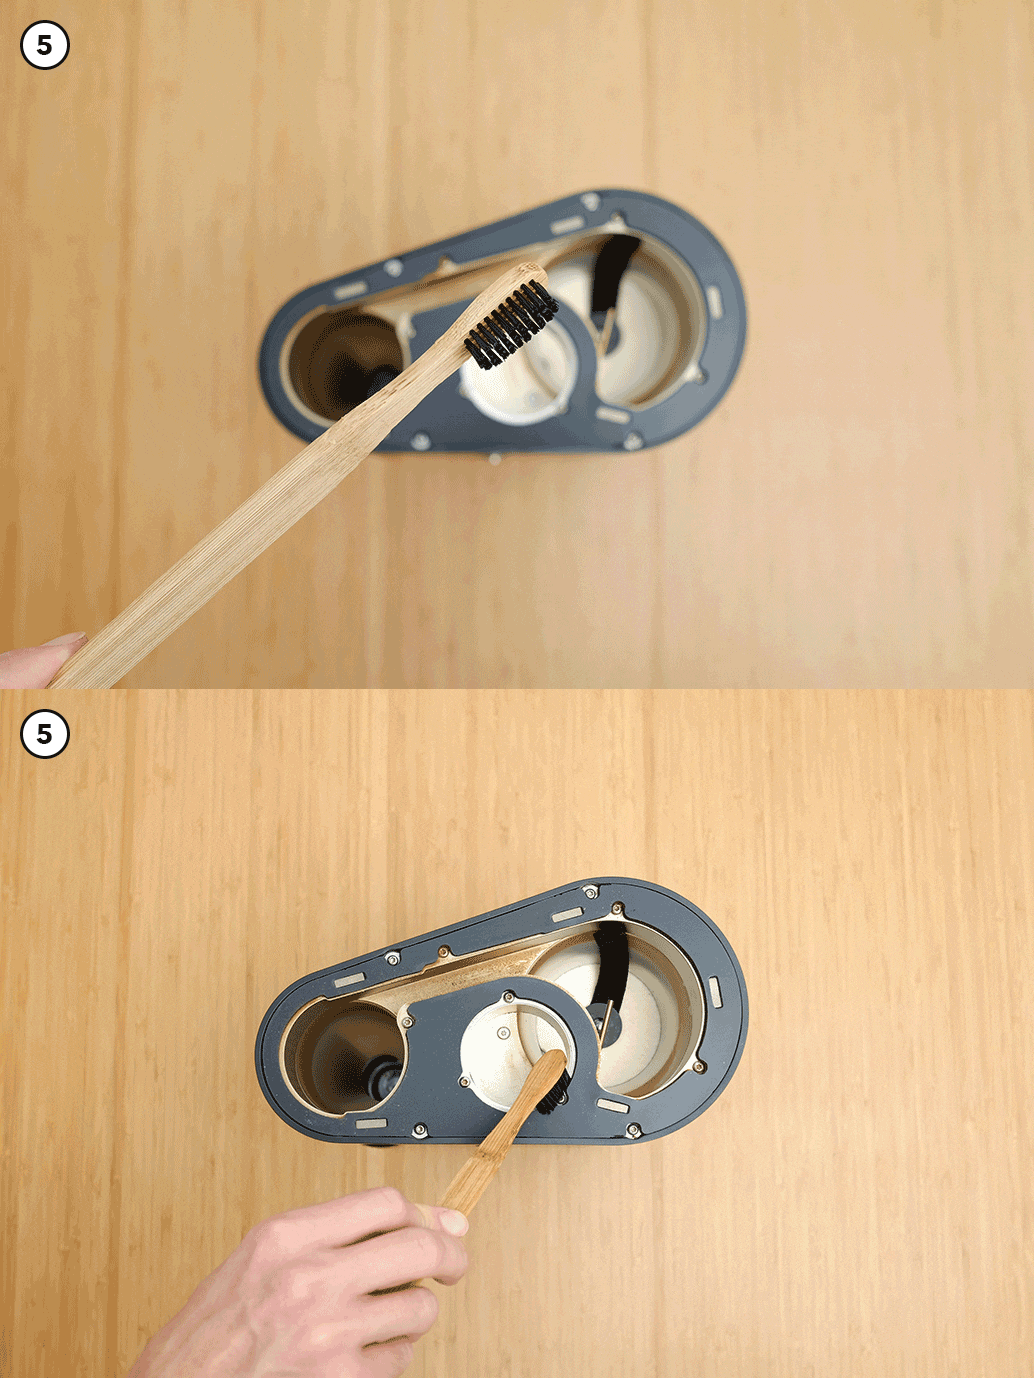
NOTE: It is very bad if liquid and dust fall through the vents at the bottom of the roasting chamber. It can easily cause an error or breakage with the roaster. Ensure your felt Absorbing Cover is firmly in place, with no visible gaps between it and the wall of the roasting chamber. - Give all areas of the inside of the roaster a dry brush with the toothbrush to remove loose chaff, including around the lid seal. Be careful to not touch the Exhaust Sensor.
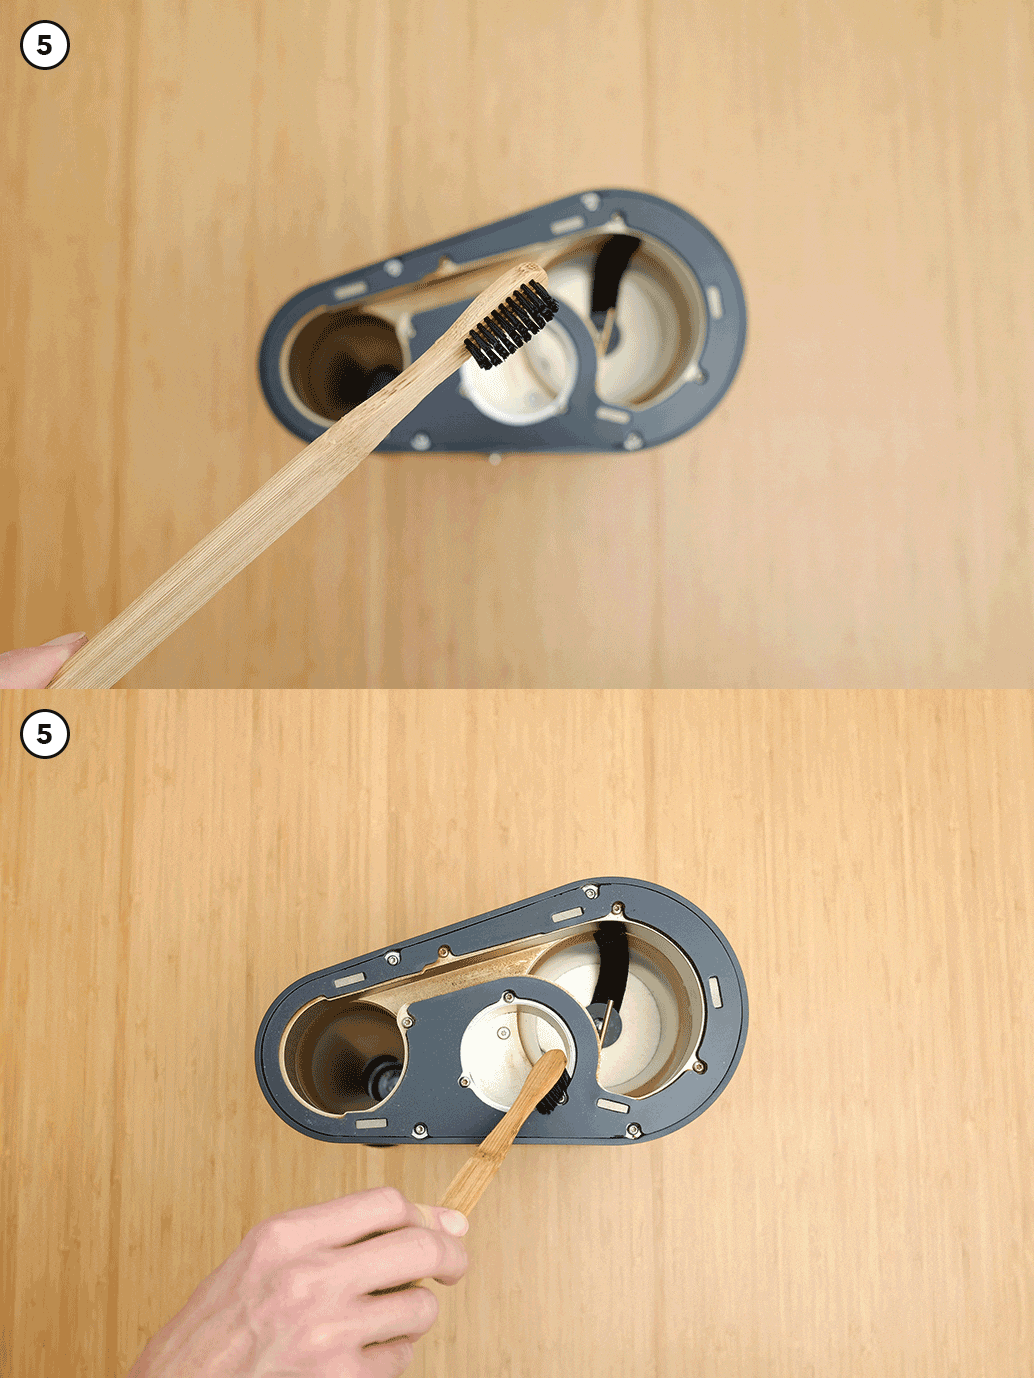
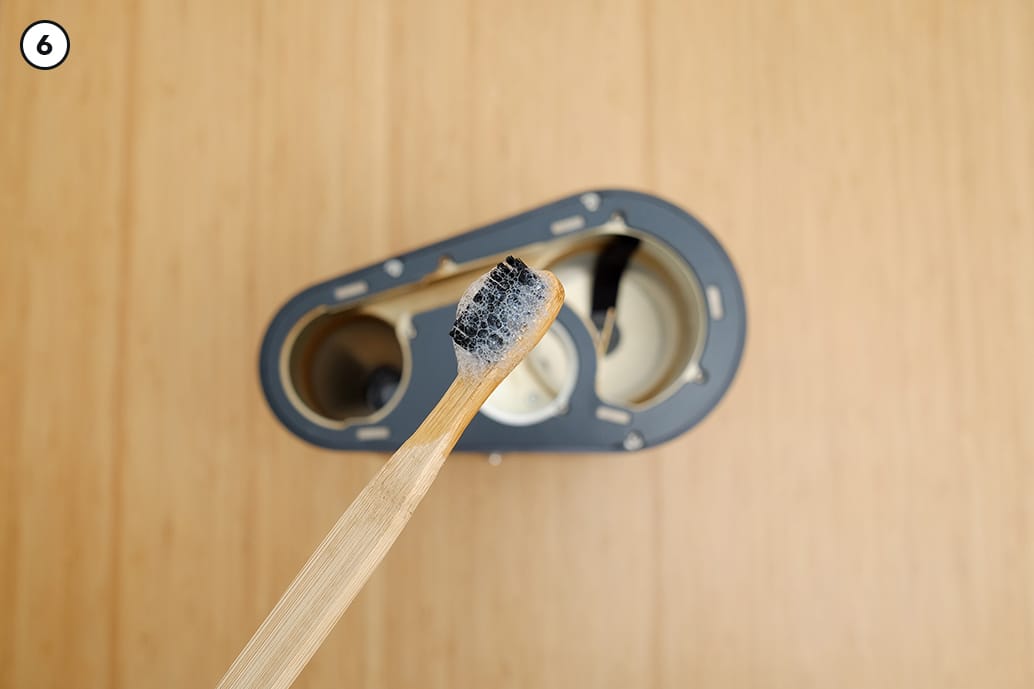
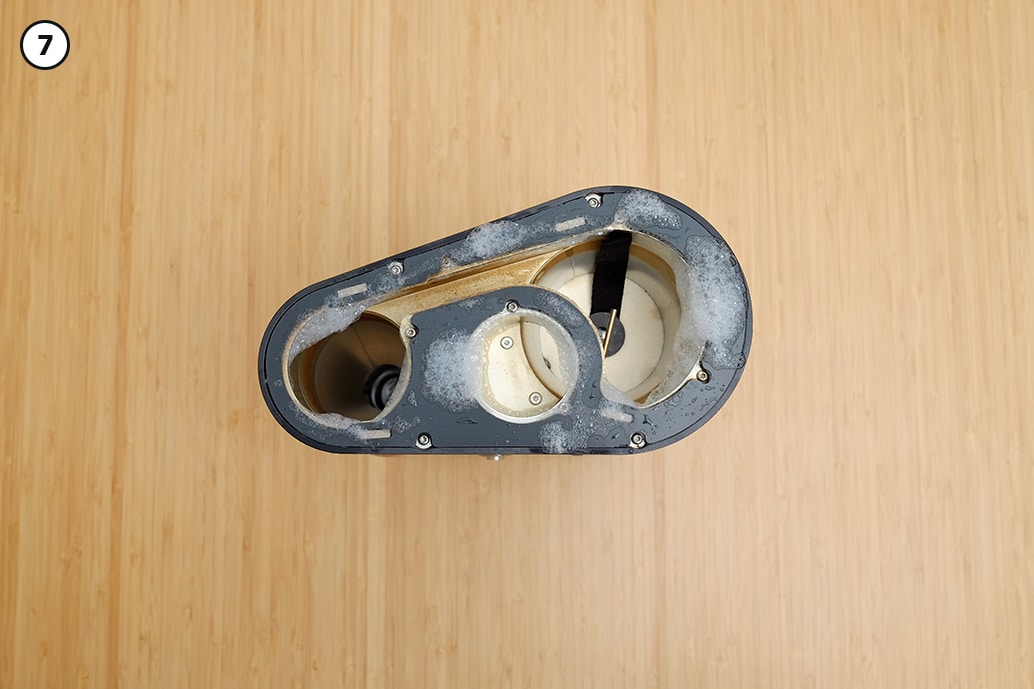
- Add 1 drop of mild washing up liquid (dish soap) and the citric acid to 15ml (1T) of water and mix. Dip the tooth brush in the solution and scrub the inside of the roasting chamber.
- Leave for 5 minutes to allow for the solution to soak into the coffee build up.
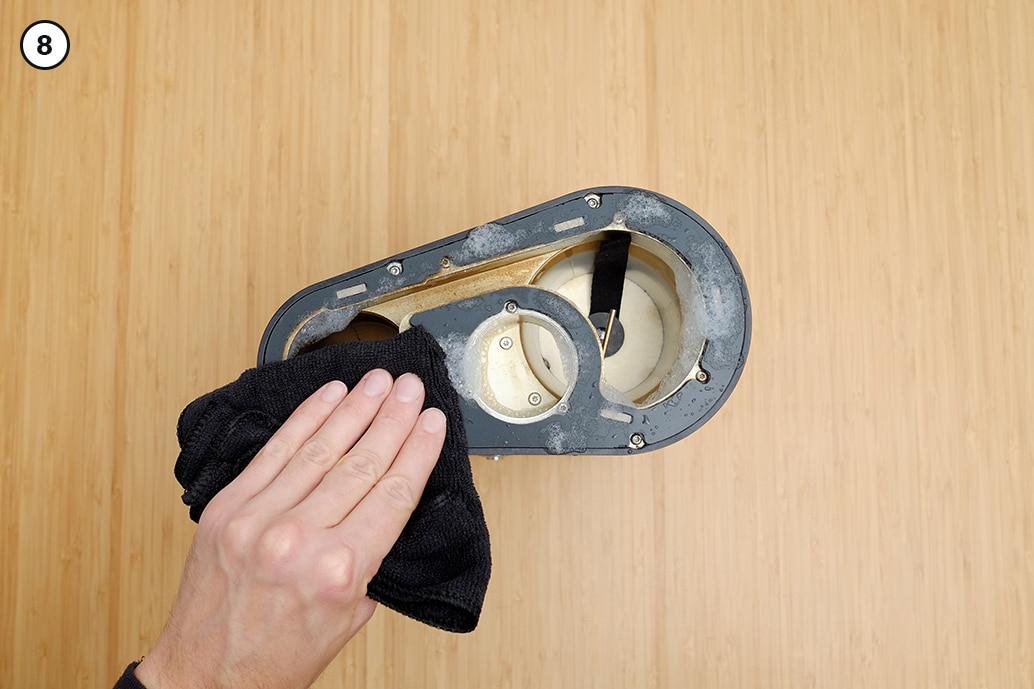
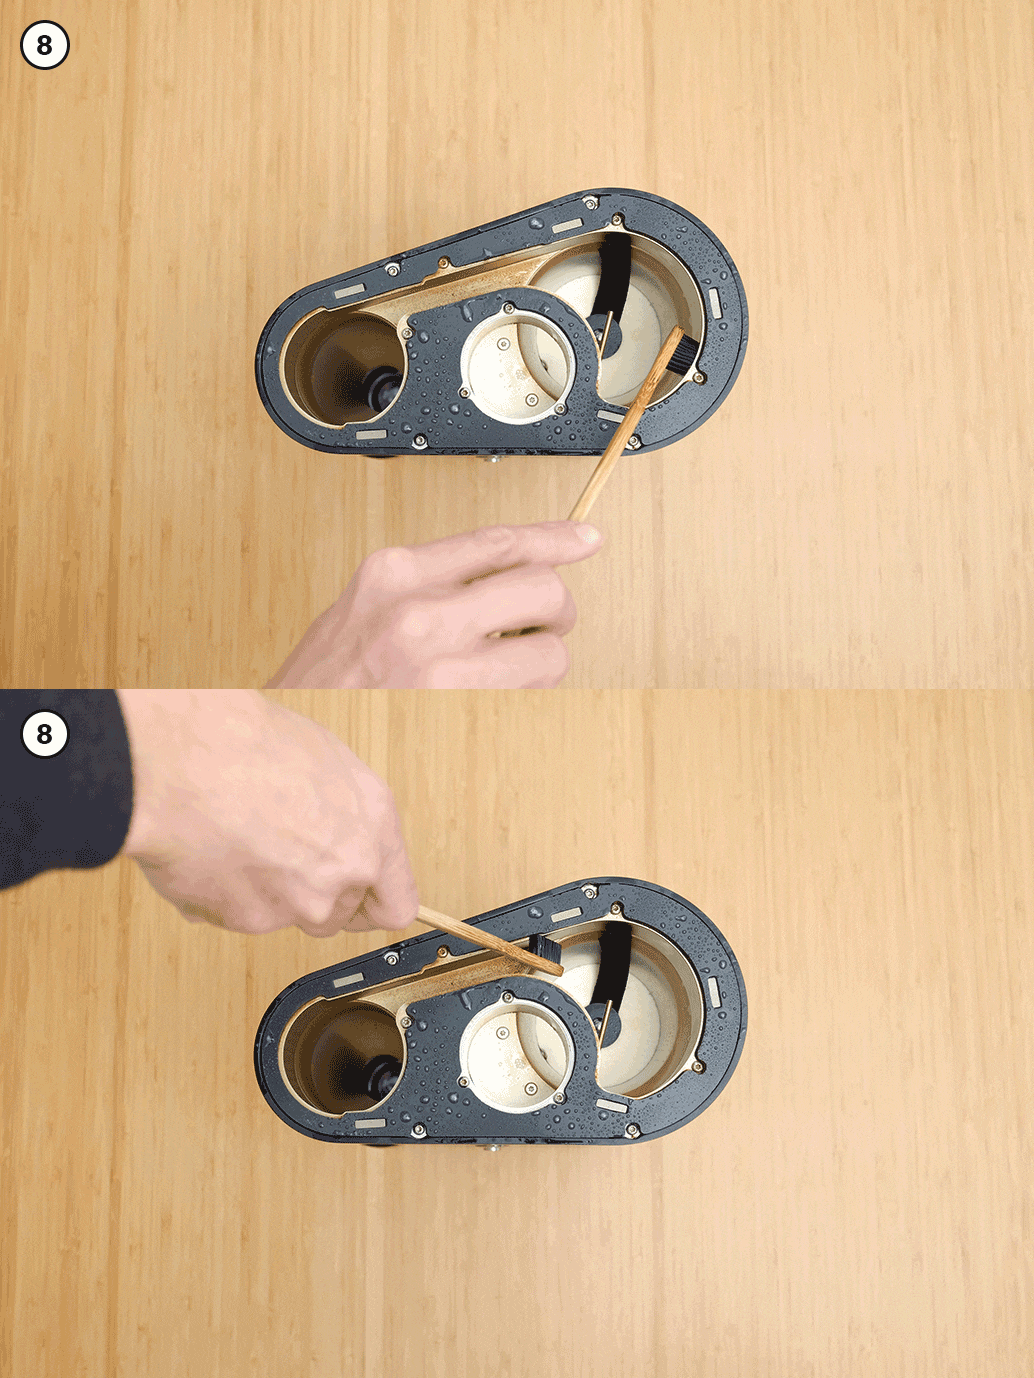
- Wipe off the solution with a damp cloth and scrub again with the toothbrush if any areas still need loosening.
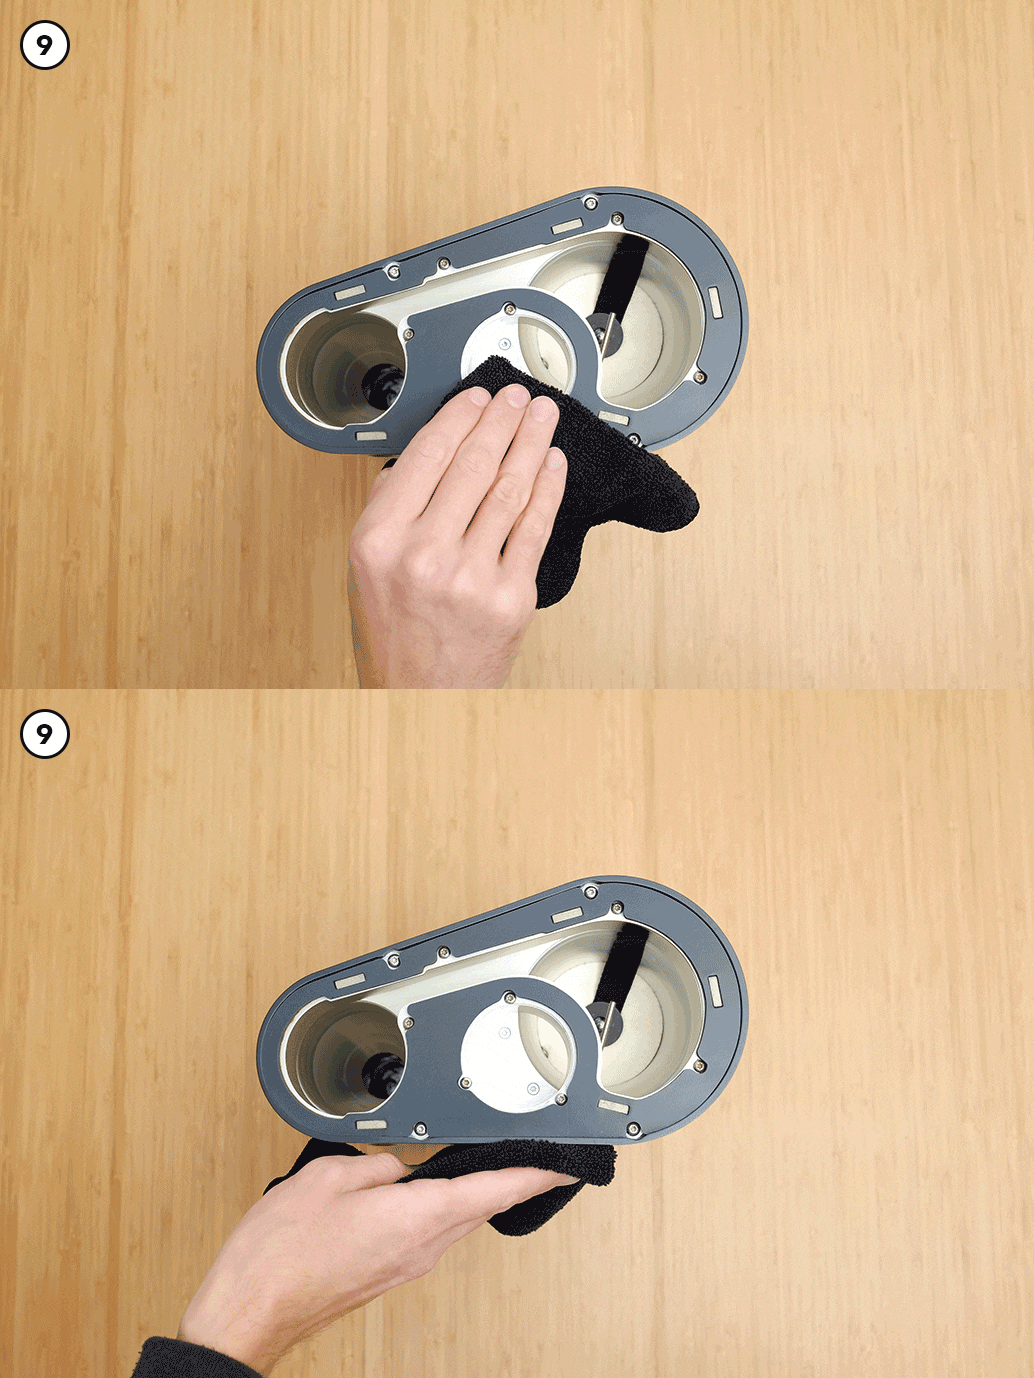
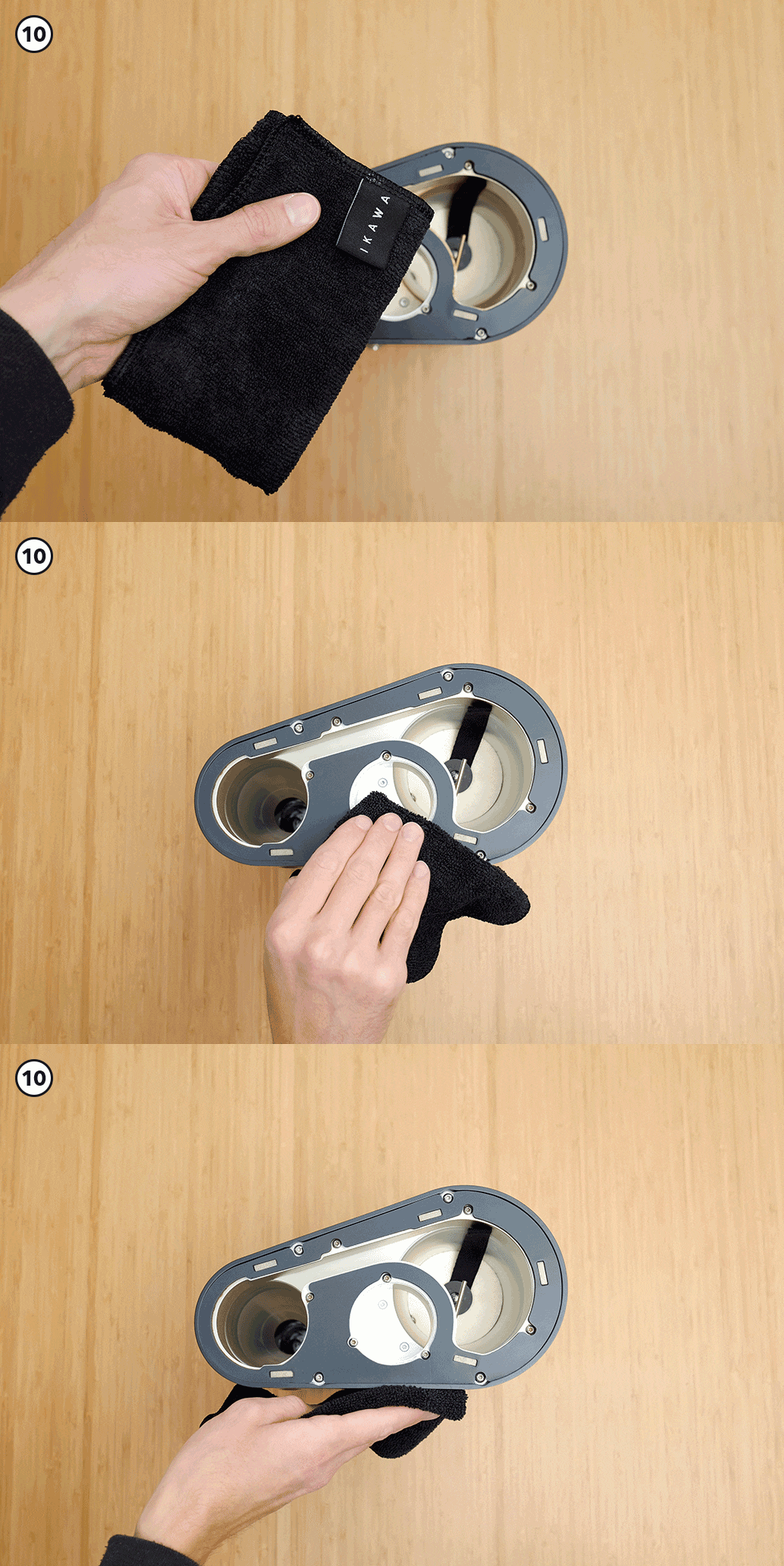
- Wipe the inside and outside of the Roaster with the damp cloth.
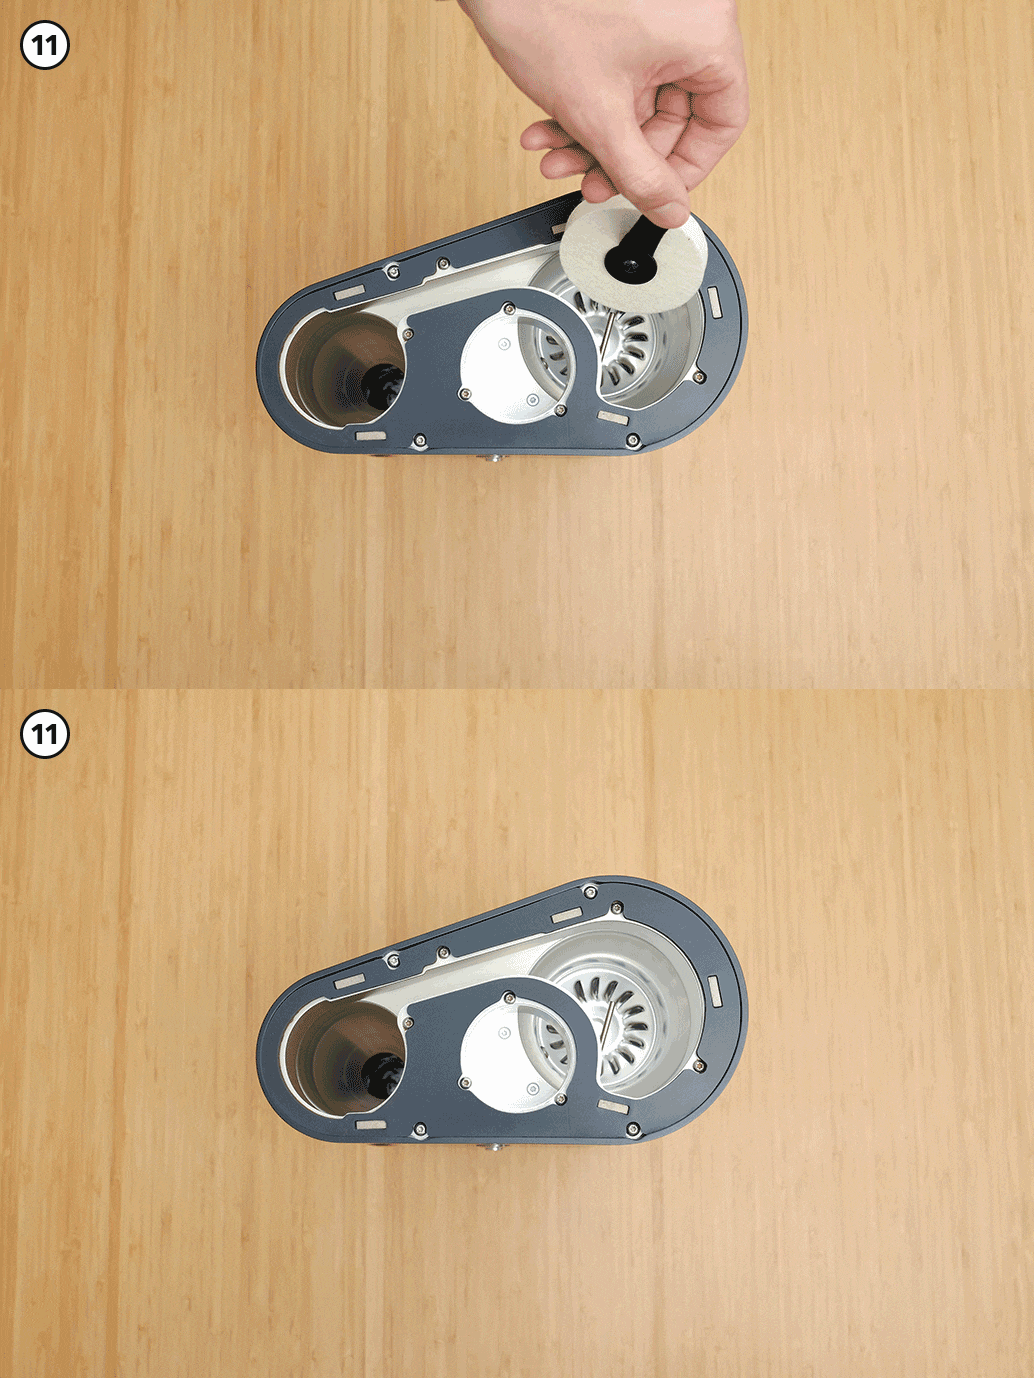
- Remove the Absorbing Cover. When removed, brush off any loose chaff and leave to dry completely.
DO NOT leave the felt disk in and turn on the roaster. - Replace the lid and complete a roast with no coffee in it. If you do use coffee, discard after roasting, do not consume.
DEEP CLEAN
(100+ roasts since last clean)
Equipment
- Toothbrush
- Felt Absorbing Cover
- Urnex Roaster Sprayz
- Urnex Wipez
- Cloth
DIRECTIONS
- Disconnect your IKAWA from the mains. (Unplug the power cable)
- Remove the lid of the roaster. To do so, simply pry it off, it is held in place only with magnets.
- Clean the lid with soap and water and towel dry.
- Add the felt Absorbing Cover to the bottom of the Roasting Chamber. This ensures liquid and any loose chaff do not fall through the louvre vents at the bottom.
NOTE: It is very bad if liquid and dust fall through the vents at the bottom of the roasting chamber. It can easily cause an error or breakage with the roaster. Ensure your felt Absorbing Cover is firmly in place, with no visible gaps between it and the wall of the roasting chamber. - Give all areas of the inside of the roaster a brush with the toothbrush to remove loose chaff, including around the lid seal. Be careful to not touch the Exhaust Sensor.
- Spray the inside of the roaster with Urnex Roaster Sprayz, ensuring all areas are covered with the solution.
- Leave for 5 minutes to allow for the solution to soak into the coffee build up.
- Use the toothbrush to scrub the inside of the roaster. Focus especially on areas where build up is heavier.
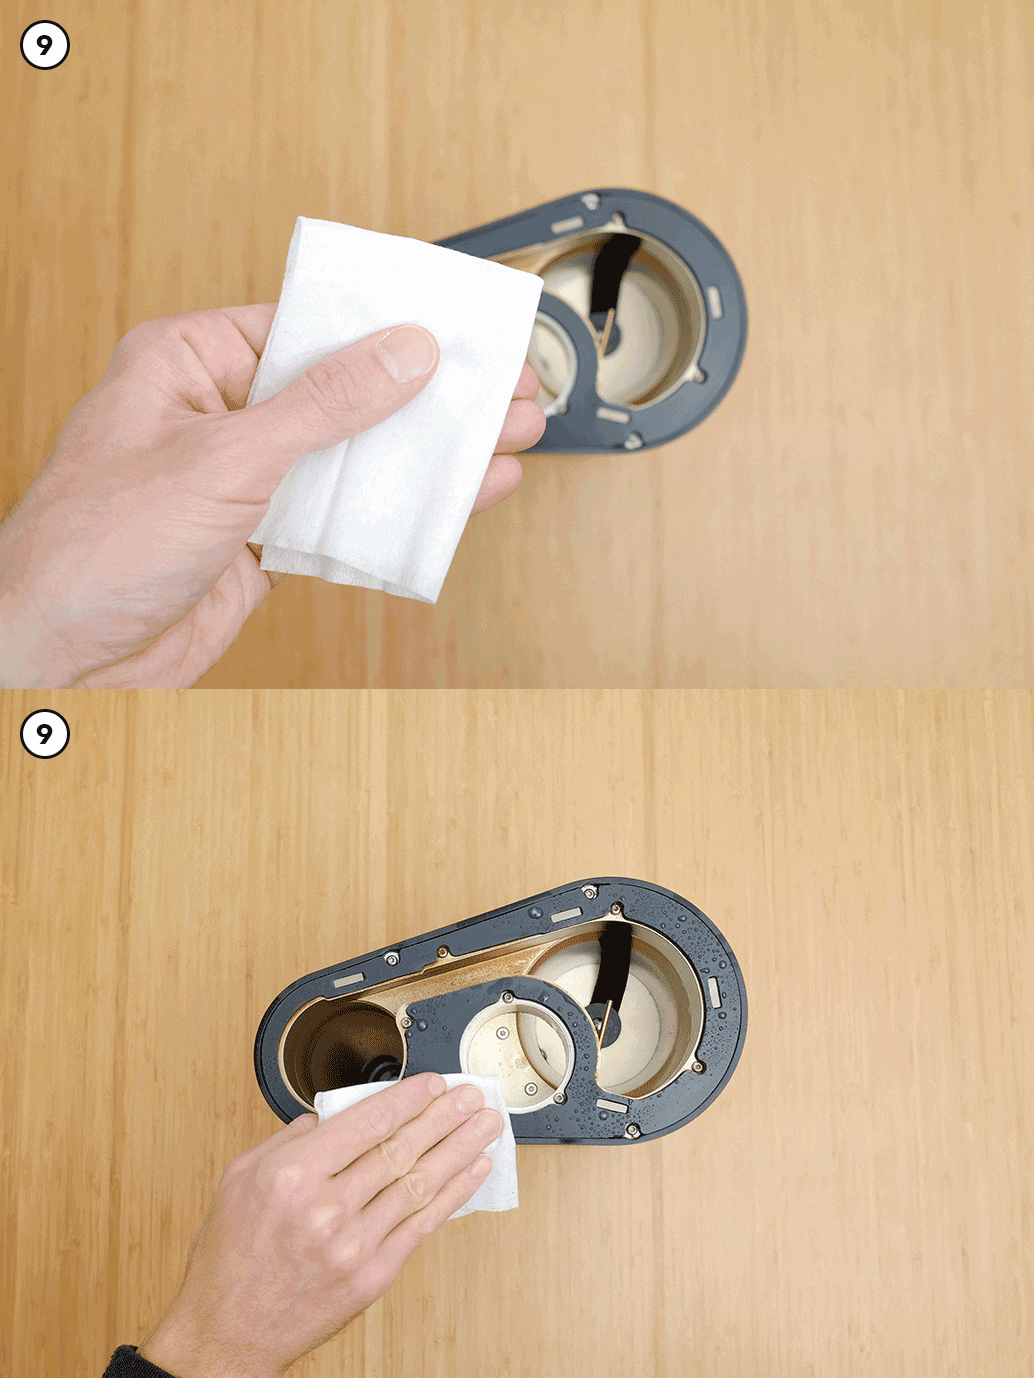
- Use Urnex Wipz to remove the loosened dirt.
- Wipe the inside and outside of the Roaster with a gently damp cloth.
- Remove the Absorbing Cover. When removed, brush off any loose chaff and leave to dry completely.
DO NOT leave the felt disk in and turn on the roaster. - Rinse the toothbrush under in clean, warm water and leave to dry completely.
- Replace the lid and complete a roast with no coffee in it. If you do use coffee, discard after roasting, do not consume.
- Models with an Inlet Filter: remove and clean that. Instructions below.
- The X models should have the Humidity Spigot cleaned. Instructions below.
(Note: Urnex roaster cleaning products are not sold by IKAWA)
CLEANING THE INTLET FILTER (Not all models have this)
Warnings:
1. Ensure the roaster is disconnected from any power source prior to removal of the plate
2. Do not power up the roaster while the base plate is removed
3. Do not insert anything into the roaster while the base plate is removed
4. Do not attempt this cleaning procedure unless you have a Pro100
Equipment
- T10 Torx driver
- Brush
- Warm soapy water
DIRECTIONS
- Remove (4x) T10 Torx head M3 screws from the roaster base and (1x) lock washer, remembering the location of the washer.
- Remove baseplate
- Remove inlet filter by lifting up and out
- Brush away loose debris
- Clean with warm soapy water and dry
- Return inlet filter, located using the 4 filter tabs in the 4 blower spacer holes. Orientation of the inlet filter does not matter.
- Replace base plate (feet facing out!), this may require you to push down on the baseplate a little to get it flush
- Secure base plate with (4x) T10 Torx head M3 screws from the roaster base and (1x) lock washer
CLEANING THE X Models
Warnings:
Ensure the roaster is disconnected from any power source prior to cleaning
Equipment
- 7mm Socket Driver (included)
- Pipe Cleaning Pin (included)
- Phillips/Pozidriv/Cross Screwdriver
- Flat Head Screwdriver
DIRECTIONS
- Ensure the Roaster is turned off and unplugged. Remove all accessories.
- Using the 7mm Socket Driver – unscrew the humidity exit spigot
- Carefully and repeatedly pass the pipe cleaner through the exit spigot removing any built up debris.
- Replace the humidity exit spigot using the 7mm Socket Driver. Do not over-tighten

