08 Feb 2016

PRO APP 2.0: MORE DETAIL ON IMPORTANT IMPROVEMENTS

As well as adding the advanced features to the IKAWA Pro App 2.0, such as marking first crack, calculating development time ratio, showing rate of rise and creating the Roast Log, we took the opportunity to make some other improvements to the app that will enhance user experience, which maintaining the beautiful simplicity of our original app.

This post explains some of the less fundamental, but equally important changes to allow you to make the most of them.

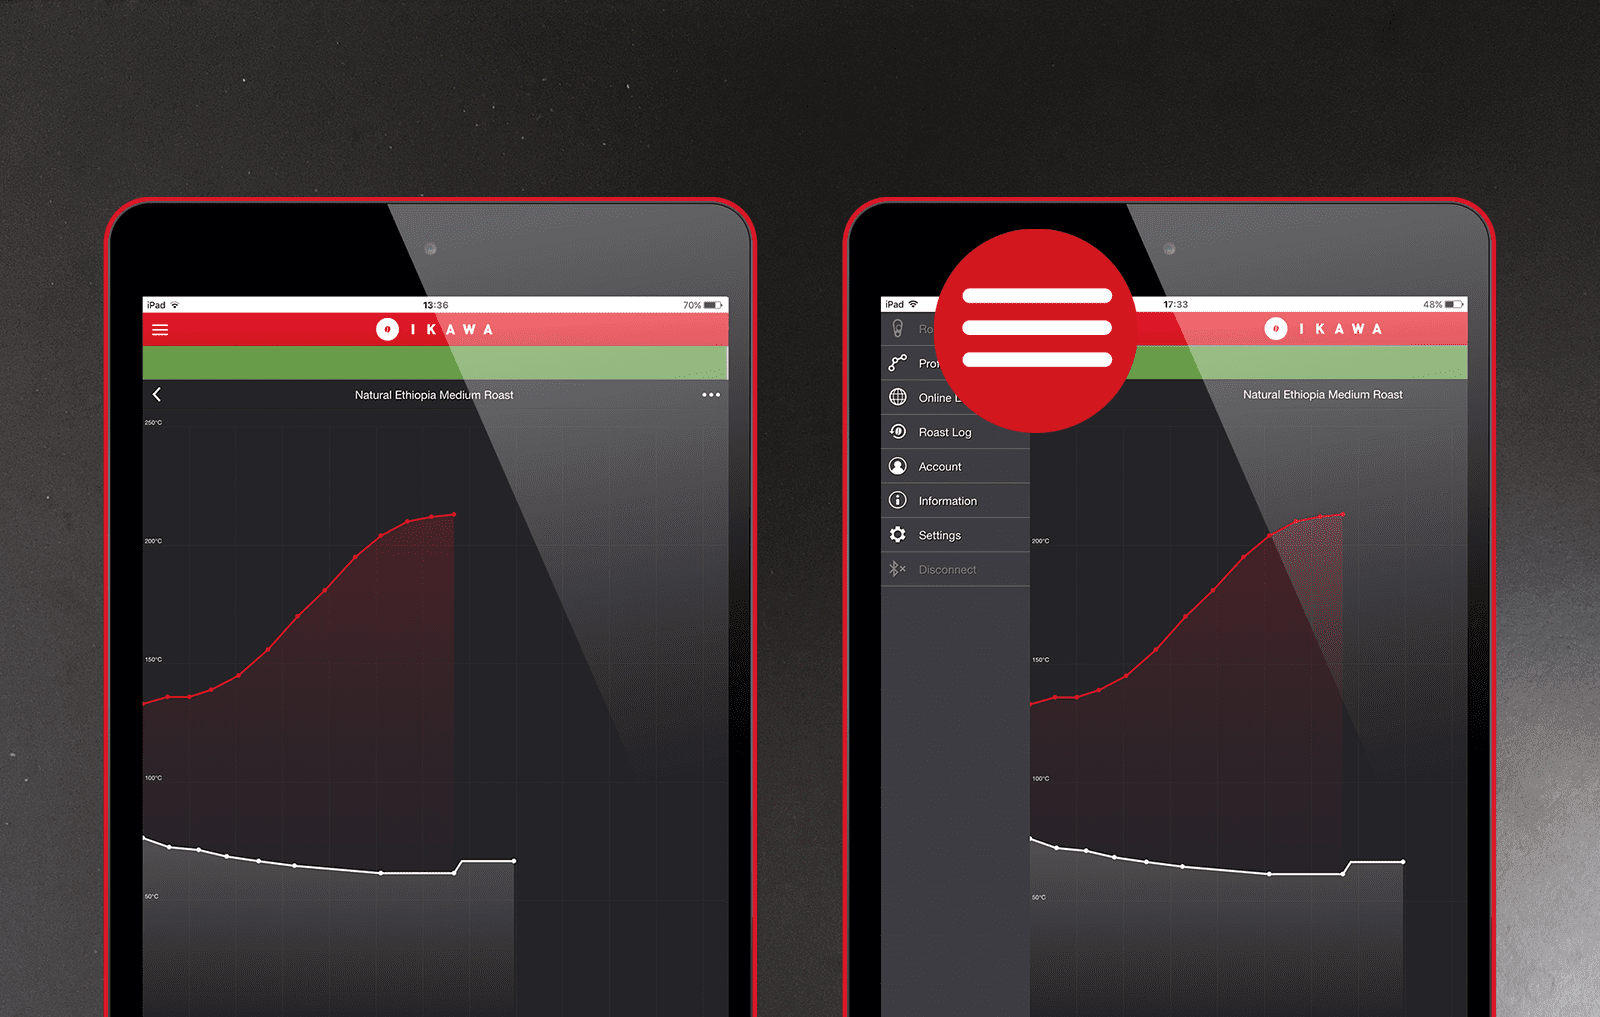
The first thing you’ll notice when opening the app is the new menu screen.

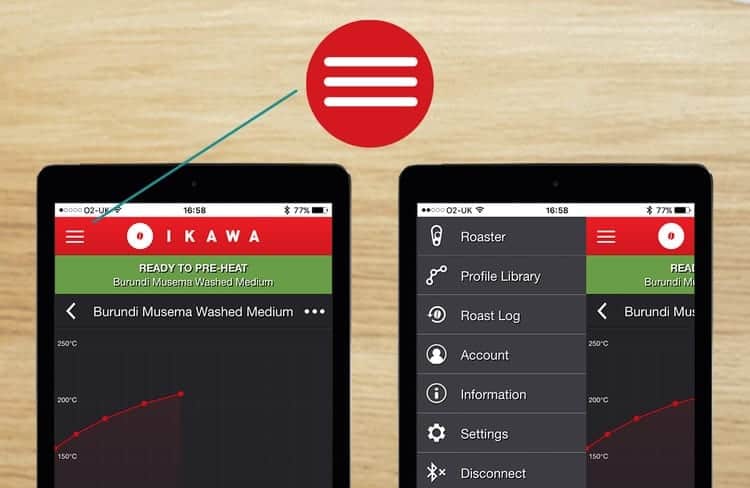
You can always return to this by pressing the ‘Hamburger Button’ in very top left of the screen. It includes:

  • Roaster: When connected, this will show what profile is on the roaster
  • Profile Library: Comes with two profiles pre-installed
    • IKAWA Pro Example Profile
    • Tim Williams – East Africa – 50g.
    • As you create more profiles they will all save here.
  • Roast Log: This is where you can save and access all the roasts you like, along with unique data, notes and photos.
  • Account: more on this below
  • Information: Basic information about the IKAWA Pro roasting system.
  • Settings: Takes you to your app settings on your iPad (more on this below)
  • Disconnect: useful if you want to switch your iPad from controlling one roaster to another.

Use the ‘hamburger button’ to access the Menu, you can reach this from all screens

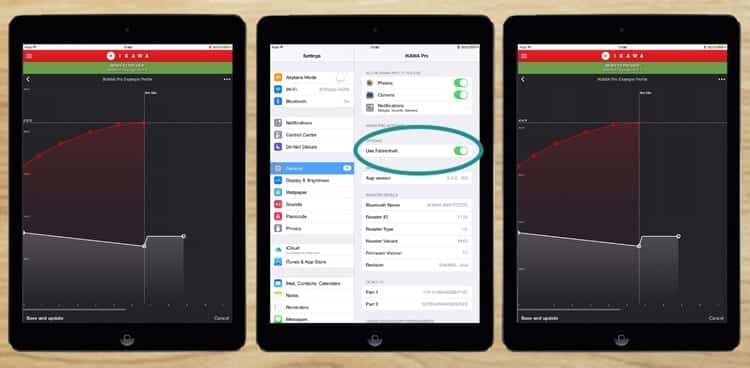
Centigrade of Fahrenheit? The choice is now yours!

Simply go to Settings and turn the ‘Use Fahrenheit’ button, then go back to IKAWA Pro app and the units will have changed. We thought this feature would be one for our American and Australian friends – but it turns out a lot of UK roasters use degrees Fahrenheit (and Kilograms!) too!

Select temperature units in the Settings of App. Did you know 212 degrees C = 414 degrees F?

Share More Better. Sharing a Roast Profile by email, text message, twitter or Facebook is a feature we’ve had from the start. Just open the profile then hit share.

We did that a lot and our inboxes got a bit confusing – loads of emails each with the same subject. We’ve improved this feature.

Now the subject of an email includes the profile name.

Taking this further, you can also share Roast Cards from your Roast Log. This includes the unique roast data – such as: Roast Profile, the actual temperature graph, RoR graph, first crack data, DTR, end temperature and end time, plus the notes you made and photo added.

Edit Roast Profile in Data Table. We love the roast profile graph and think it’s probably the best way to edit a profile, but there are other ways too.

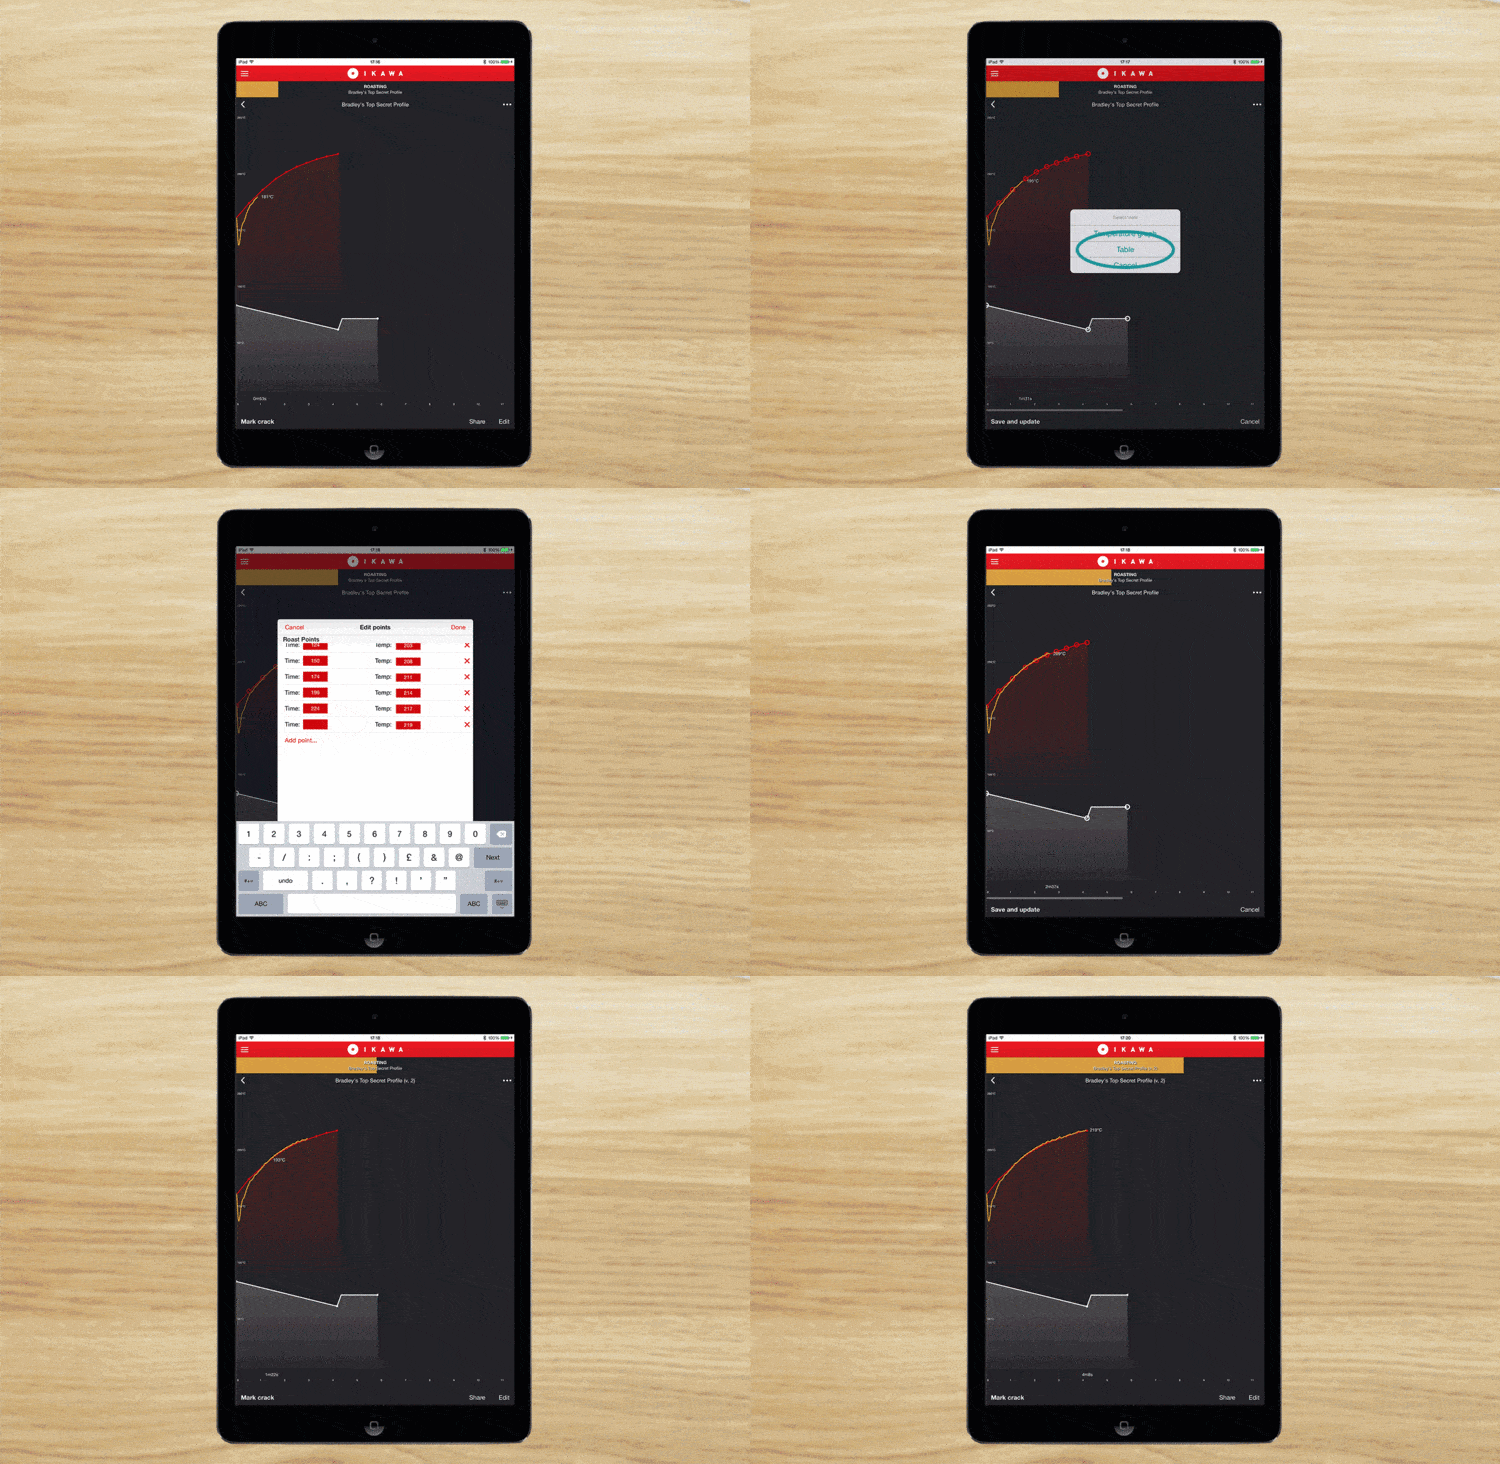
We’ve added a Data Table function which allows you to edit the profile by entering the time (in seconds) and temperature into a table. The Fan points can also be edited here.

Probably most useful if you have big fingers but a small iPhone!

To access the Table view:

  • Simply hit ‘edit’ on a profile
  • Then press … in top right corner and select Table.

This will bring up a simple table showing the time and temperature of data points that are set for your profile. For the fan it shows the time in the left column. The right column shows a number between 60 – 100 which represents the percentage of maximum fan power and corresponds to the range you have in graph view too.

  • Amend the existing figures by tapping each red box
  • Delete points by pressing X
  • Or tap Add Points which automatically adds a new data point 10 seconds later at the same temperature (or fan power).

Fan cooldown point refers to the cooling period after roast is complete. Be careful not to set fan power at 100% during this phase or you risk blowing all the beans from the roast chamber into collection jar prematurely!

Hit Done when you’ve made your amends and you’ll be back on the roast graph.

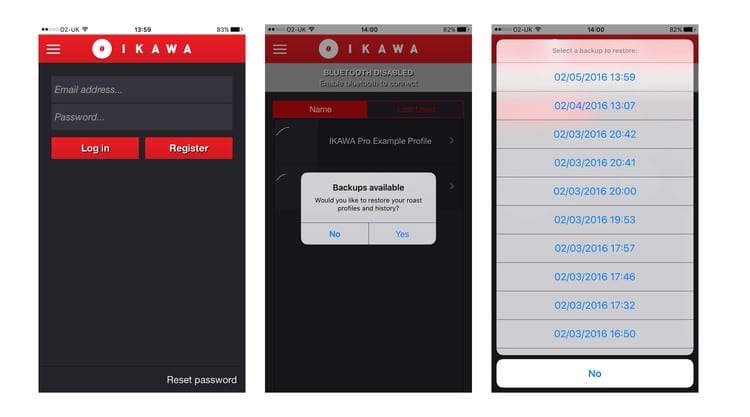
Back up your Profile Library and Roast Log by creating a User Account. 

We want to get to a place where you could have one account, and allow your app data to be consistent across several devices, for example; work iPad, your iPhone and colleague’s iPhone. We’re not there yet – but Step 1 is to create user account.

A user account in Pro 2.0 app will back-up the data saved on your device, so if for any reason you delete the IKAWA Pro app, the data can be restored when you reinstall it on that same device.

The process to create an account and to restore data is simple. When you restore the data, you should be aware that the one thing missing is photos saved from Roast Log – however all other information will be restored.

author-img By Alex Georgiou