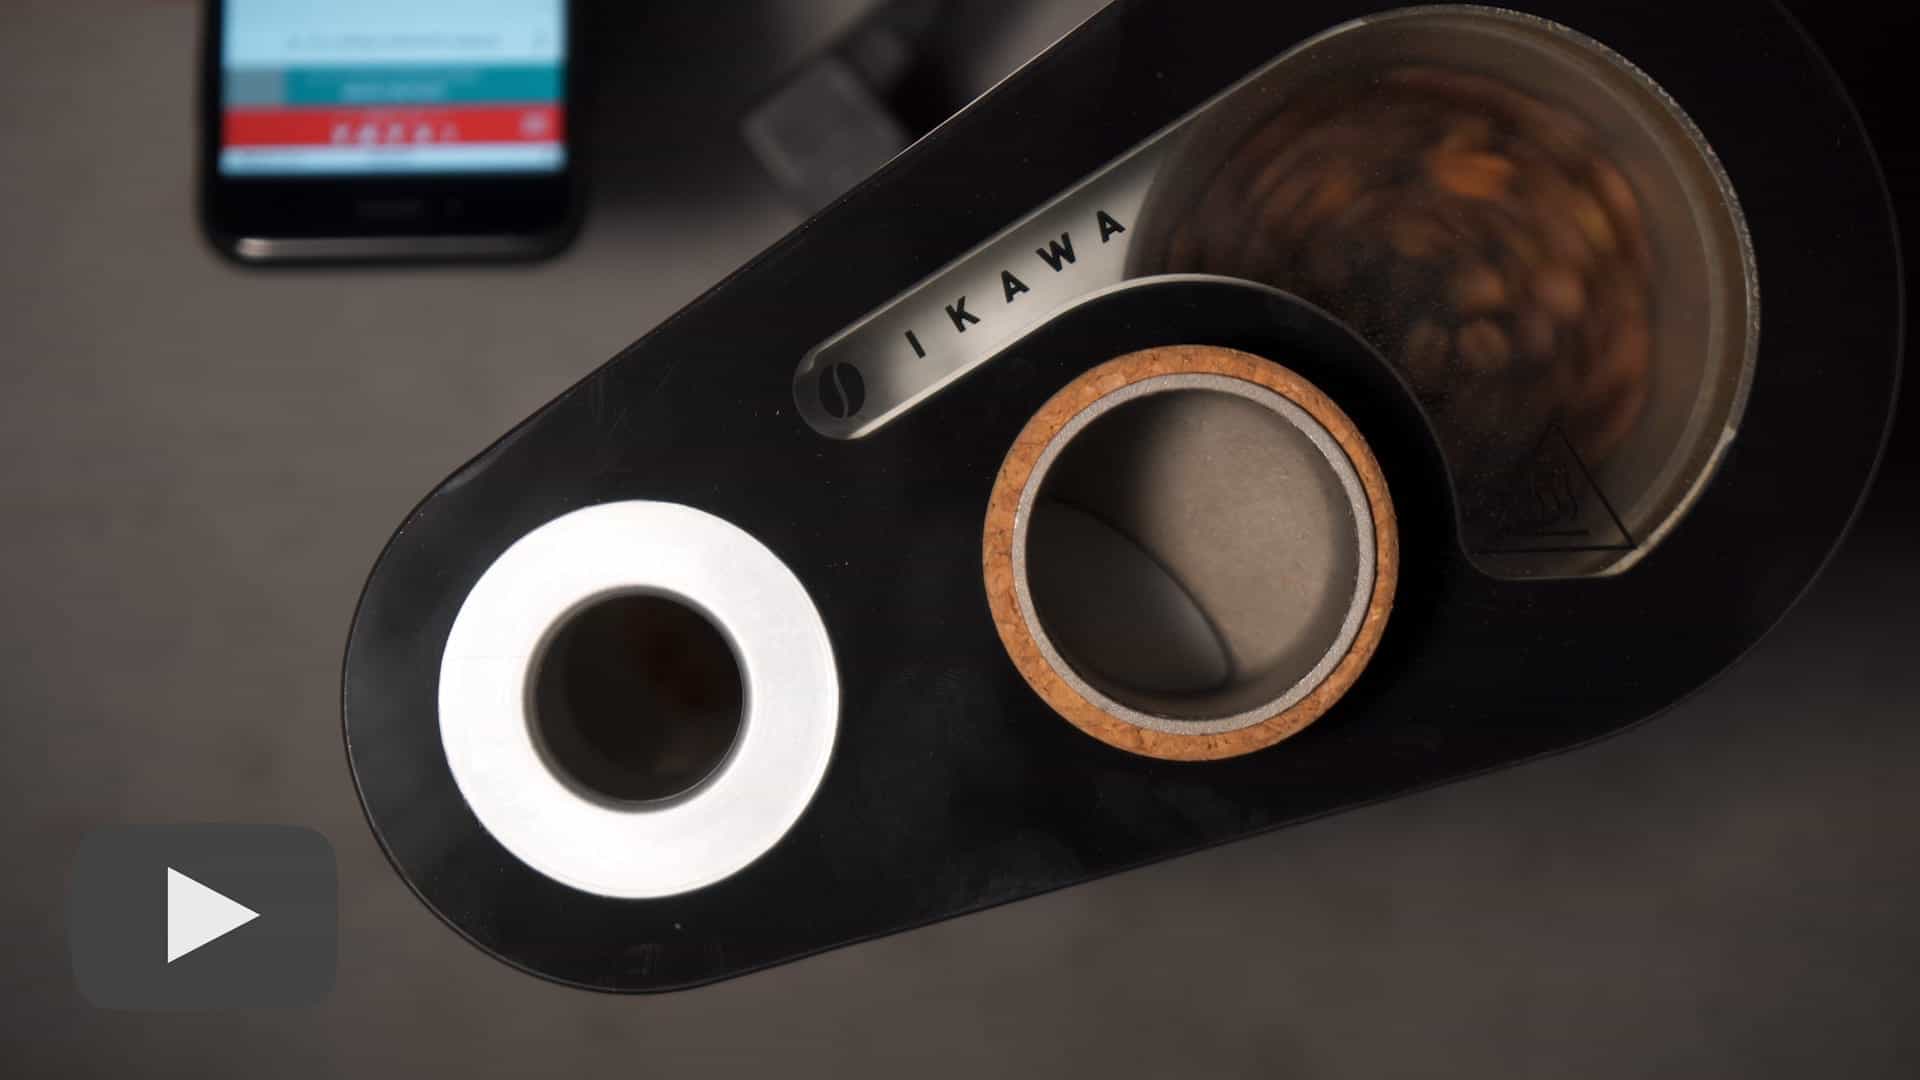
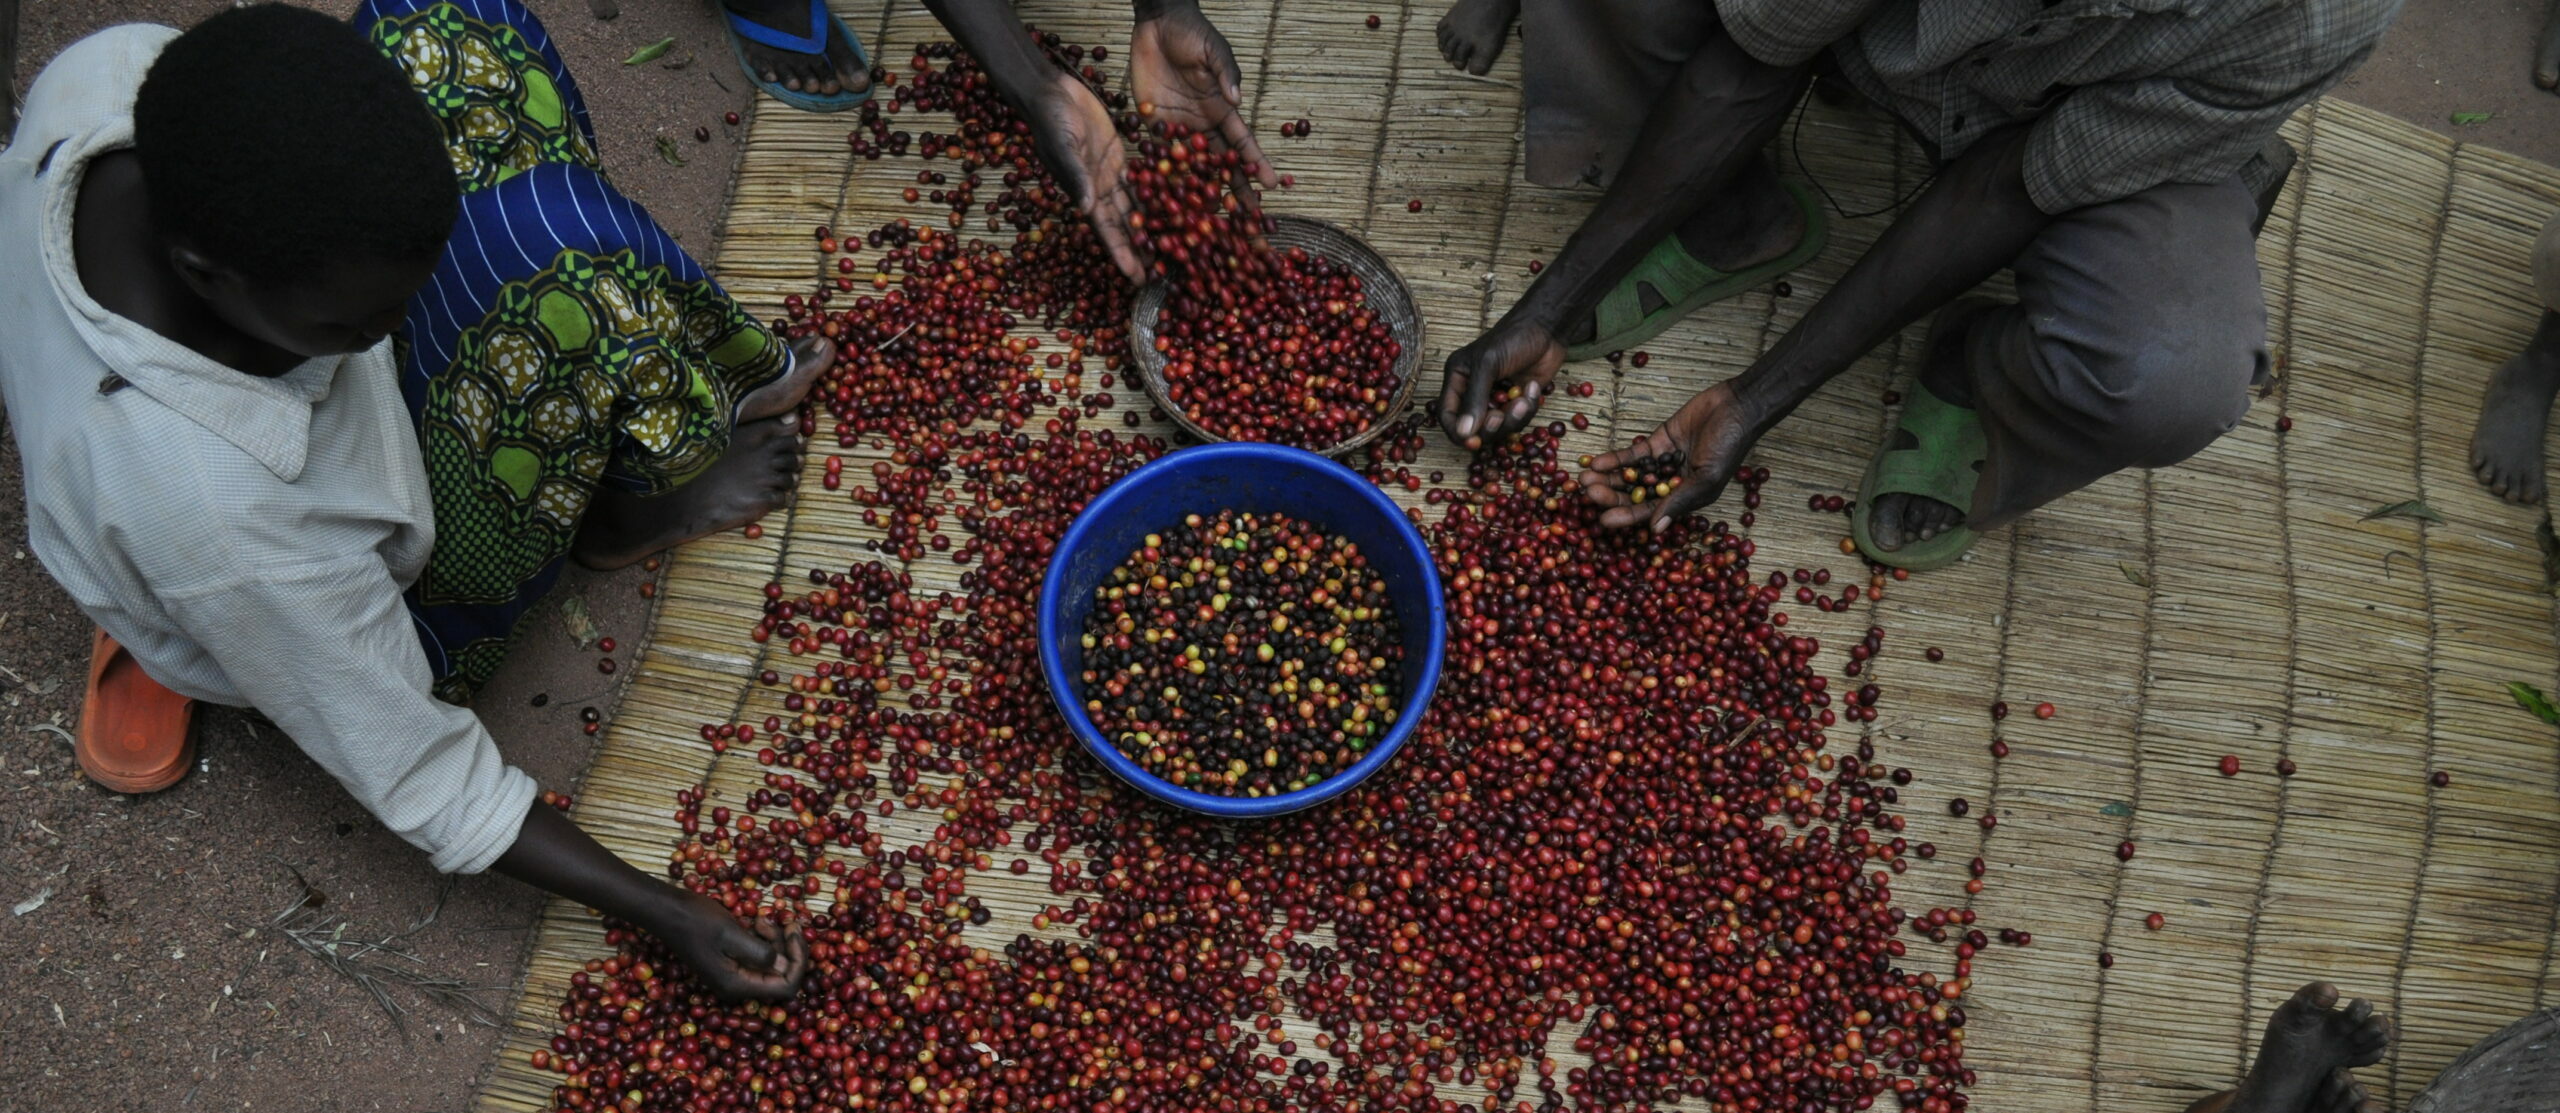
The IKAWA turns an inedible, mostly flavourless and aromaless dense seed into a delicious, brittle, aromatic coffee bean that we can then dissolve in water.
How does something so flavourless turn into something so delicious? Amazingly, to create all the chemical reactions needed, all we have to do is add heat. Adding heat to a coffee seed creates an incredible amount of change. And, of course, we like to use the IKAWA to add heat in a very precise way to manage that change exactly how we like it.
The art of roasting is in how and when heat is applied. It’s possible to slam on the heat full blast and not consider how the roast is progressing. But, there is a lot happening and the reactions are sensitive. With careful monitoring we can learn to tease out the flavours we love in coffee and avoid those we don’t.
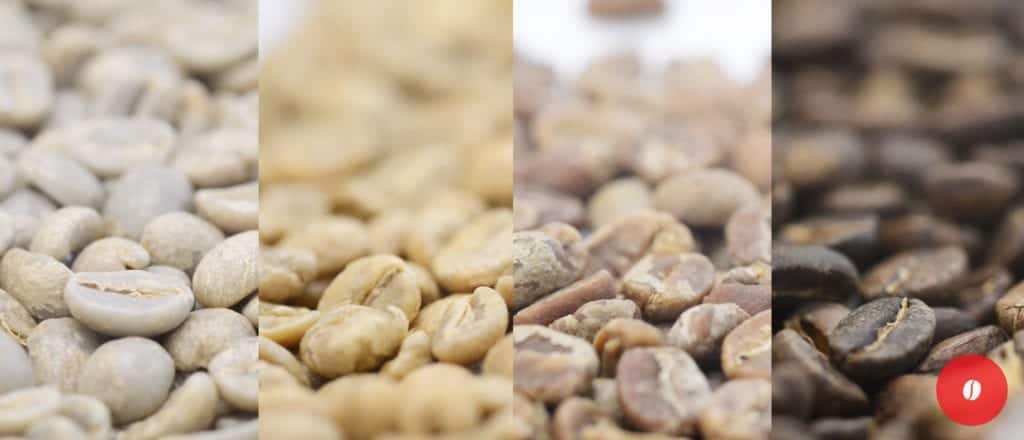
One of the first things we recommend learning to recognize in coffee roasting is the physical changes. It might sound counterintuitive, to use a precise and digital tool to learn how something looks and smells (which is very subjective), however it’s a great window into the process.
Learning how something looks and smells at each stage will help guide you if you decide to edit or create your own Roast Recipes.
Let’s start a roast and we’ll explore each of the various stages coffee goes through. Specifically, the colours and aromas the coffee moves through as it roasts.
- Pale – the seeds (beans), after a very short amount of time in the roaster, will pale in colour, sometimes looking almost white. The aroma for this initial phase is mostly grassy, smelling very much of the raw green seeds (beans). The seeds (beans) are absorbing heat, energy, but there is still time before any major visual or aromatic differences occur.
- Yellowing – As the roast progresses, the seeds (beans) will begin to turn yellow. The smell is now changing to hay. The Maillard reaction begins when the seeds hit 145, 150 degrees C. Reducing sugars react with amino acids to produce this non-enzymatic browning (enzymatic browning occurs, for example, in apples as the inside are exposed to the air).
- Orange/Tan – During the middle phase of the roast the beans deepen in colour, moving from a yellow to a distinct tan or orange colour, depending on the coffee. The aroma moves from hay to something much sweeter, often like baking bread! When the bean temperature moves past 165 C, caramalisation occurs, helping with that delicious smell.
- First crack – our favourite point in the roast. The coffee will audibly pop or crack like popcorn and puff up slightly (although much less than popcorn!). This marks the beginning of when we usually consume coffee. The coffee can now be ground and brewed, although how easily depends on your development.
- Development – depending on the roast and the coffee, first crack will be quick and loud or slow and long. When you stop the roast is up to you. Shorter development times generally have a brighter profile, longer and darker roasts tend to be less acidic and with more body.
- Development time – the time after first crack is sometimes referred to the development time. Things happen quickly! The coffee changes in appearance and flavour most quickly at this point. Literally 30 seconds can produce a different tasting cup of coffee. We carefully monitor how long and at what temperature the coffees are being roasted at here, all with the goal of getting the best flavour from the beans. How much development time to apply to a roast becomes quite personal. Everyone likes a different style of coffee and it’s usually after 1st crack that most people make their adjustments to how a coffee tastes. Longer roasts, shorter roasts, darker roasts, lighter roasts, and combinations of them all.
- Second crack – If the roast continues long enough, coffee will go through a second crack. This is slightly softer sounding than 1st crack and it’s usually when oils will begin to migrate from the inside of the bean to the outside. The cellular matrix actually fractures here, allowing oils to migrate outward. Second crack is usually a good marker for the point at which the roast flavours can dominate the origin flavours. We prefer to keep a nice balance of the two to allow the terroir to shine through. But that’s our preference – there is no right answer.
- Burnt – Keep roasting and now the coffee will burn. Carbon is now developing as sugars and other components are breaking down and burning. Probably best to stop it here and not risk a fire.
- Cooling – after roasting, coffee will be cooled quickly down to about room temperature. It’s key to have this done quickly – if the coffee stays warm too long it can dull the flavour of the coffee. Remove the coffee from the roasting chamber to the collection jar right away. The chamber, although cool compared to roasting, is still a little warm and moving the coffee to the jar as soon as possible will keep that coffee tasting fresh.
Hopefully this was helpful and you notice something new. Coffee roasting is full of subtle complexities and once we begin to notice some, we begin to notice a lot more.
Check out the full length version of our Stages of Coffee Roasting video below!
Happy roasting.

