One question we get asked a lot by prospective IKAWA Pro Sample Roaster customers is regarding the readings from the temperature sensor located inside the roast chamber.

One question we get asked a lot by prospective IKAWA Pro Sample Roaster customers is regarding the readings from the temperature sensor located inside the roast chamber.
What does it measure? How can I know that the actual bean temperature is?
Many coffee roasters will be familiar with the sense that all temperature readings are essentially ‘guides’ to the actual bean temperature, and part of the skill is extrapolating the readings to help understand what is actually happening to the coffee beans during the roast.
The IKAWA Pro Sample Roaster offers highly precise and rapidly responsive temperature readings of exhaust / environmental air to the fraction of a degree, many times a second, and allows the roaster to actually follow the roast profile that you set (rather than relying on you to ‘turn up the gas’ at certain junctures).
This blog post by Rob Hoos sheds some light on what is actually happening inside the roast chamber, and how you can interpret the data to set the right curve for your sample roast.

Rob with Bradley at IKAWA stand of SCAA 2016
Rob is an independent coffee roasting consultant, director of coffee for Nossa Familia Coffee and author of the book Modulating the Flavor Profile of Coffee: One Roaster’s Manifesto. He is also a member of the Roasters Guild Executive Council, SCAA Specialised Lead Instructor for Roaster Level 1 & 2 serves as a subject matter expert for the SCAA – so it’s fair to say he knows a thing or two about roasting coffee!
We have found Rob’s handbook Modulating the Flavor Profile of Coffee really helpful to simply and accessibly explain the different stages of a roast and why they are important. It’s also been quite straight forward put these ideas into practice on the Pro Sample Roaster.

Rob Hoos has been using an IKAWA for the last few months, and we caught up with him at SCAA in April where he shared a really interesting roast profile we hadn’t seen before, and started to explain the theory behind it.
We thought it would make a fascinating blog post for our other Pro Sample Roaster customers (in fact, anyone who roasts coffee in general), and Rob has been kind enough to share his theory in more detail, and explain how you can create excellent profiles using exhaust temperature as a guide.

“As coffee roasters, I feel it is safe to say that we spend the majority of our time thinking about the bean temperature thermocouple. It is a major focus because thinking about what is happening to our coffee is the most important thing. Built into that however, is the somewhat erroneous concept that the bean temperature thermocouple is an accurate measurement or representation of what is actually happening with the bean mass.
Depending on batch size, thermocouple placement, thickness, and type, we could be seeing a wide range of variation in readout of the bean temp thermocouple. Because of this, focusing exclusively on the bean thermocouple temperature as if holy writ, keeps us from observing what is happening holistically in the roaster.
I’m not saying that we shouldn’t use bean temperature as a means for roast profile control and consistency. What we need to do, rather, is look at the larger picture of heat transfer that is at work inside the roaster (that – and get thinner more responsive thermocouples – and make sure they are located where they will always be covered by the bean mass in the roaster 😉 ).
So this leads us to the next question: “What is another piece of data feedback we are provided with during roasting which can help us interpret what is happening in the roaster?”
The answer is actually the OG* when it comes to thermocouples, pre-dating bean temperature in most manufacturers, and that is the exhaust temperature. Though it goes by many names (exhaust temperature, return-air-temperature, environmental temperature, etc) it represents a measurement taken of the heat energy in the flow of air exiting the roasting chamber.
This data is the result of a number of different variables; inlet air temperature/heat application, heat absorption by roasting system, and heat absorption by bean mass. It is, essentially, the remainder of the heat energy input into the roasting mass, and it helps us understand a bit more about what’s going on with regards to heat transfer in the roasting system.
So how can we use exhaust air temperature as a means to understand what is happening to the beans?
Let’s understand its implications based on the differences (or Δ) between inlet air, bean temperature, and exhaust air. At the beginning of the roasting process, the beans are coming in at room temperature. This means that the beans are at their lowest part of the roast curve or profile. On many roasters (most I would presume) this is not shown, as the chamber is pre-heated beforehand and we show the lowest point as being where the falling temperature of the bean probe thermocouple and the rising temperature of the bean mass meet one another and begin to rise together (Turn Around Point, Equilibrium, etc). We likewise have a dip in exhaust air temperature after the green coffee is added to the roaster because much of the heat energy is being absorbed by the green coffee. In order for the roaster to bring the exhaust air temperature up once more, it requires the application of heat and the increase of the inlet air temperature in order to compensate for that absorption. Therefore, at the beginning of the roast, the Δ between all three indicators is at its largest. See pictured below from my Loring 35kilo roaster:

To recap what is being shown visually:
The roaster is charged to exhaust air temp of 480 F before the beans are added. Then, once the beans have dropped into the roasting drum, there is a dramatic decrease in temperature as the beans (which were at room temperature) are being warmed and are stealing heat from the rest of the system. In order to compensate, heat is applied which causes the inlet air temperature to rise, and helps bring the exhaust air temperature, up and simultaneously raises the bean temperature. In this particular instance, I programmed the roaster to aim for a 425F exhaust air temperature.
Were I to make another push for a higher air temperature, we would have expected to see the burner increased once again in order to bring the air temperature up, thus increasing (albeit temporarily) the rate of rise in the bean mass due to heating. If we discount the inlet air temperature and burner % and simply focus our attention on exhaust air and bean temperature we see the following correlation: The greater the difference between exhaust air temperature and bean temperature, the faster the rate of rise to meet the exhaust air temperature.
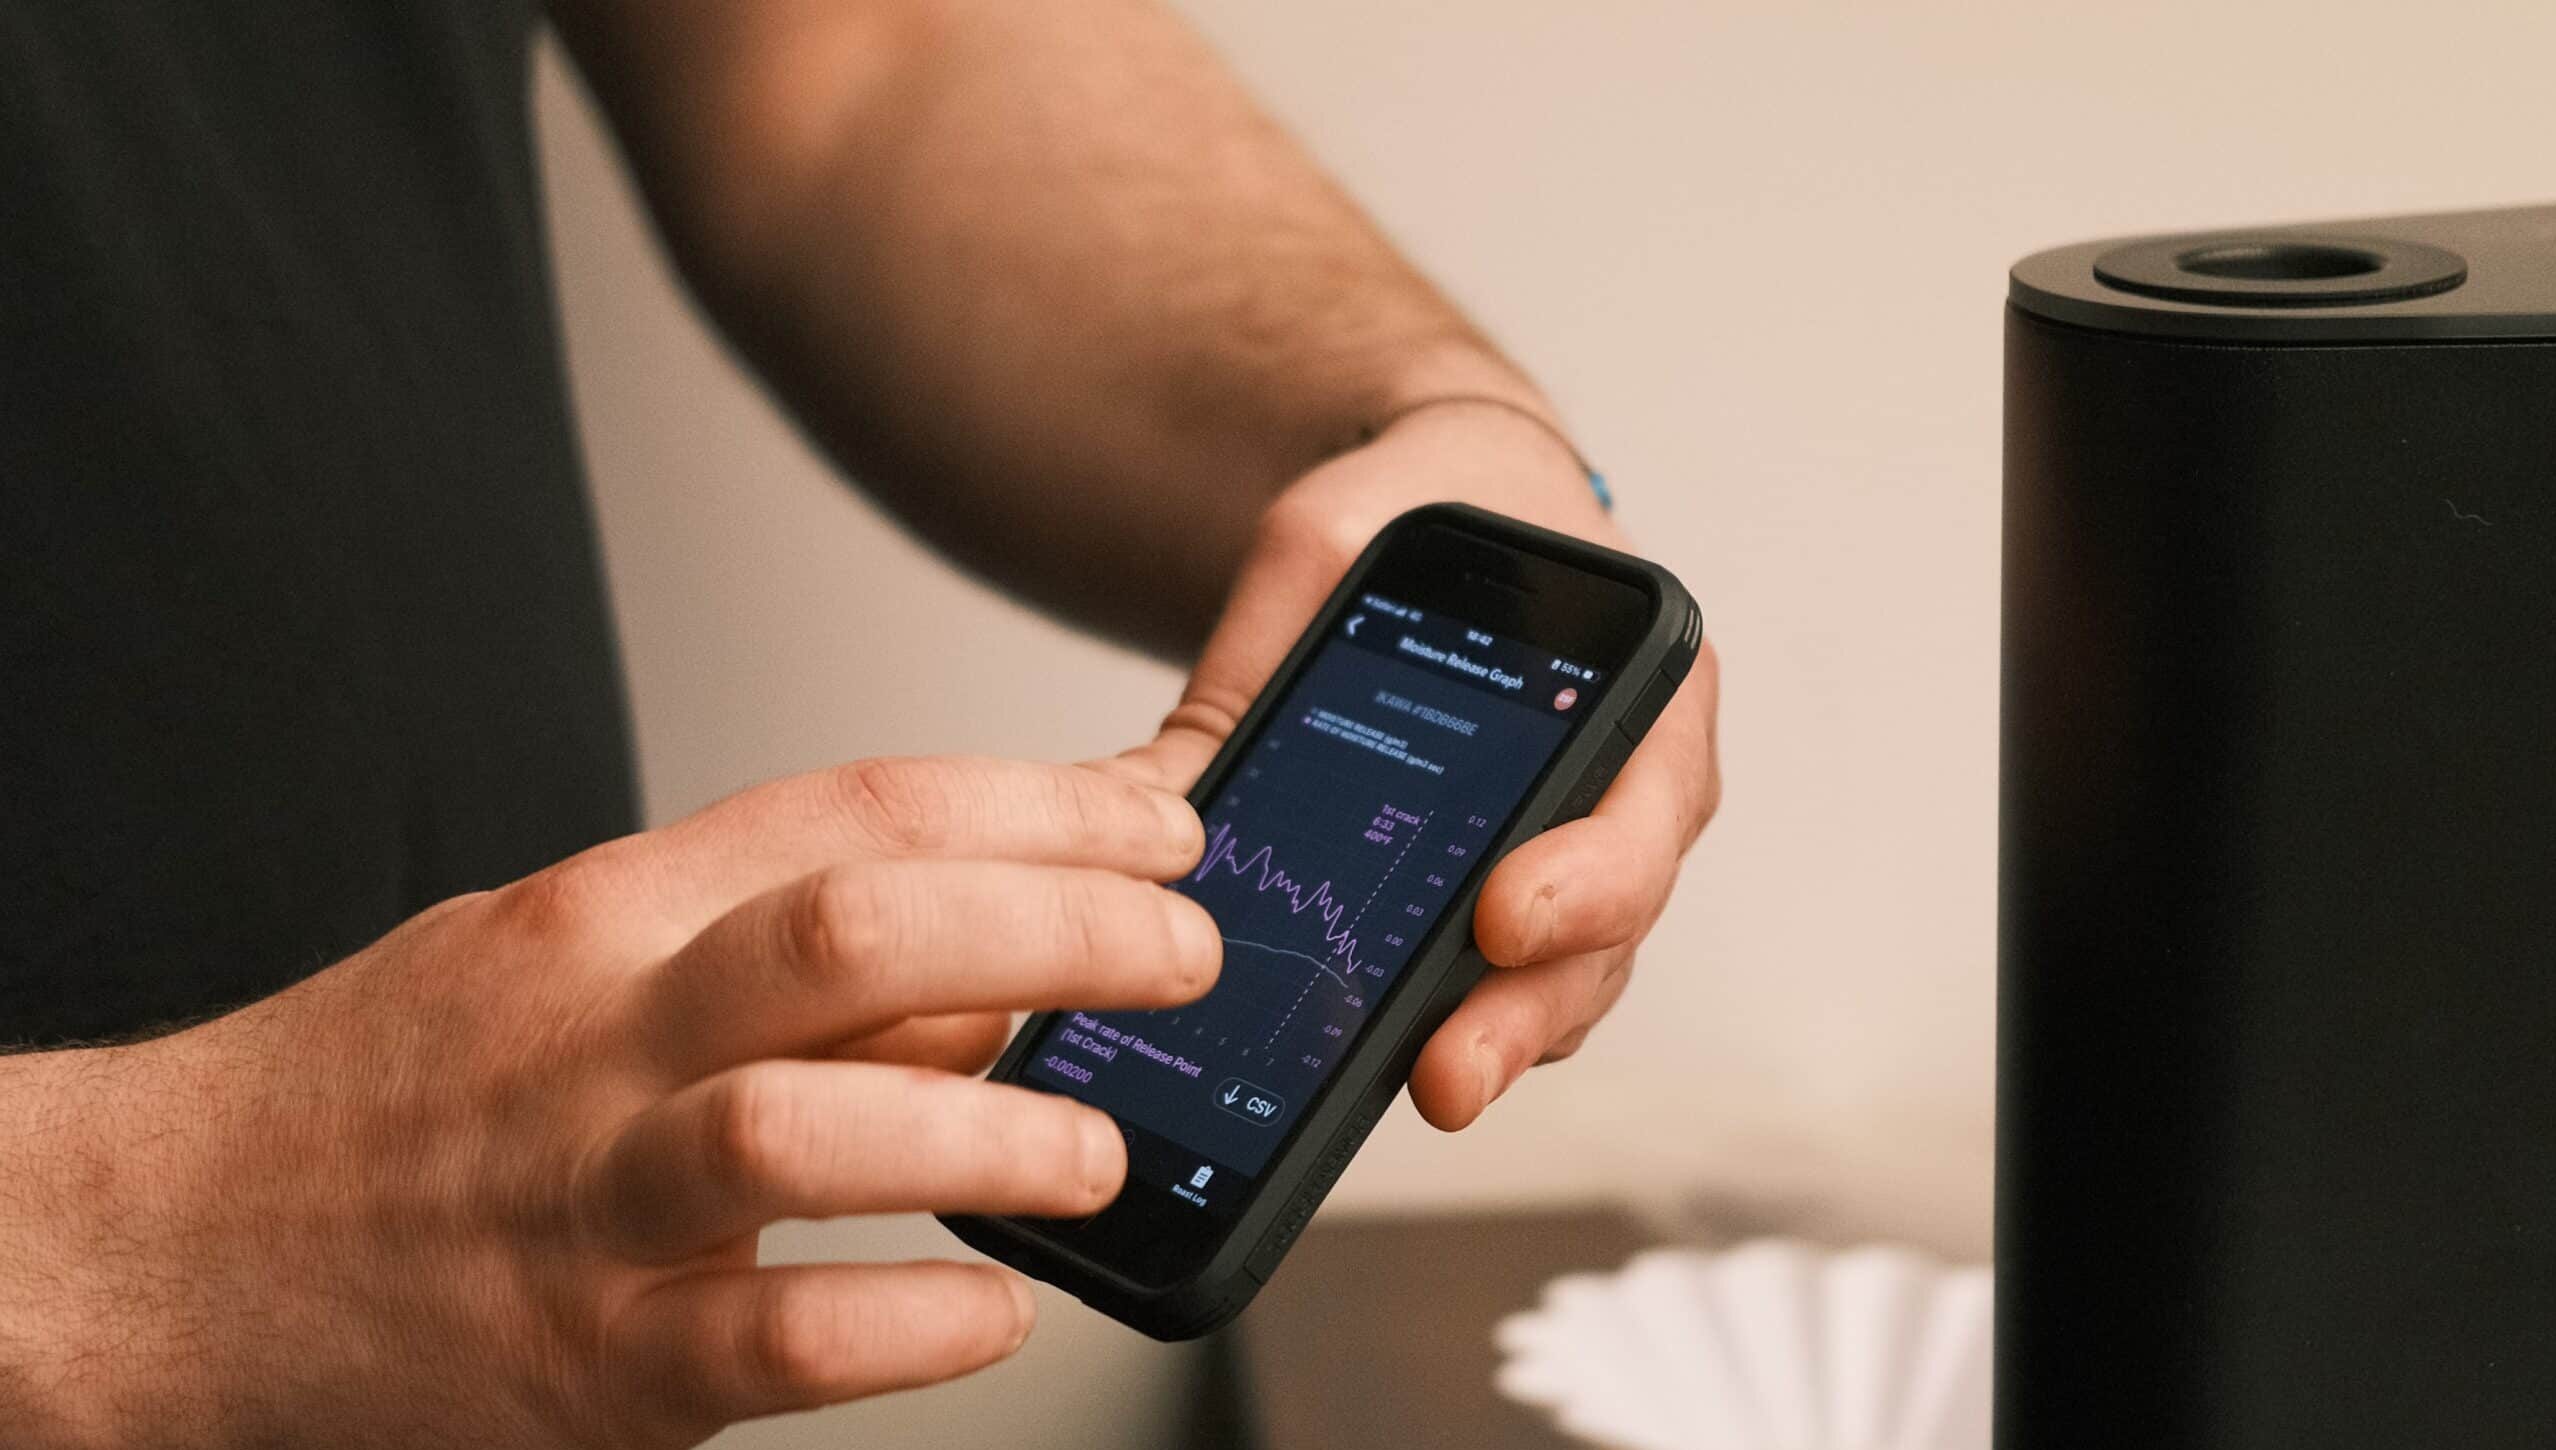
You read more about viewing Rate of Rise on IKAWA Pro App here

Once again, this shows that the rate of rise is steepest (or at its highest) the further away the bean temperature is from the exhaust air. The closer the bean temp gets to the exhaust air, the slower the rate of rise, and the shallower the ramp on the curve. So, if one keeps the exhaust air temperature relatively consistent, then we could expect a curve that looks like this.

This means that if we do not have the bean probe temperature, but do have the exhaust air set at a constant temperature, we can intuit that the coffee will eventually near a 0 degree Rate of Rise as it approaches the exhaust air temperature (depending on the roaster, thermocouple configuration, and point in the roast of course).
You’ll notice that this isn’t quite the case with the Loring roast I have pictured above – this is primarily because the exhaust air thermocouple is much thicker than the bean probe thermocouple, and thus 425 F is actually more representative of 450-460 F on the thinner thermocouple used on the beans. Though I don’t have nice graphs for other roasters I have used environmental temp as the control I can summarise experience.
On my US Roaster Corps 3 kilo machine, I know that a fairly good cupping roast ends at between 410-415 bean temperature. The bean probe thermocouple and exhaust thermocouple are the same basic size. Therefore, to end up around 410-415 I know I need an air temp of 10-15 degrees above that. So, when I am roasting a 100-300 gram sample on my USRC I use a stepped exhaust air readout to arrive at a desirable sample roast profile. I typically charge at 400 exhaust air (70% drum speed, and 50% air speed), adjust burner so I make it back to
Typically speaking this makes my roast come out as follows:
This general concept can be cross applied to various roasters and forms of roasting to try and control the roast curve of the coffee. (stick with us – IKAWA roast profile coming up shortly!!)
This chart shows approximately how the actual bean temperature (red) would change, based on the measured exhaust temperature (blue) based on the above theory.

I’ve had an IKAWA Sample Roaster since January and have been experimenting with various different roast profiles.
One of the things I was trying to achieve was to see to see how I could create a roast that closely represents roast profile consistent with the SCAA sample roast criteria.
Defined by the SCAA as follows:

My reasoning for desiring to use SCAA protocol is as follows. Part of the goal of cupping and sample evaluation is to eliminate as many variables as is humanly possible. This is not just eliminating variables at our facility, but every step along the path that coffee takes to get to us so we can talk about the same taste experience as that which the farmers had cupping the coffee. So we are all using similar quality water, the same coffee to water ratio, a similar grind setting, with coffee that is roasted to a similar degree of caramelisation within a relatively similar length of time.
Granted, these protocols are imperfect, and many other things stand in the way of us truly sharing in the same tasting experience (such as differences in water minerality etc), but the more standardised we can be within the industry when it comes to cupping coffees, the better (for more on this topic, read Ida Steen’s blog about Sensory Science and Methodology for Coffee Evaluation).
So with this in mind, I developed the following profile to use on the IKAWA Pro Sample Roaster.
The below roast profiles show the curve in degrees Centigrade – but you can change the settings on your app- more here

The Coffee I was roasting was a small lot from:
This profile essentially allowed me to experience a similar roast profile (with regards to colour changes and events) that I would experience sample roasting on my 3 kilo, or a BRZ or the like.
While I am still tweaking and playing around with this profile, I’ve found the profile to closely mimic a traditional sample roast of a coffee.
All of that to say this simple mantra…
When it comes to thinking about how to profile using the exhaust air on the IKAWA, or any roaster for that matter (even if the bean temperature is unknown and you are estimating based on colour), remember:
conversely
If you are trying to finesse something into your sample roasting protocol, I hope you find this helps you to get into the right ballpark more quickly. And if you are just looking to explore or have an adventure with a particular coffee I hope this helps you understand the changes you can cause in the coffee.”
Since Rob initially wrote this blog we spent some time at SCA Seattle where he shared his latest profile that we used for a washed Kenyan coffee.
Below is Rob’s revised profile.

A big Thank You to Rob for this in-depth blog post.
Rob’s book Modulating the Flavour Profile of Coffee delves into more theory, breaking down the roasting process into 5 relatively independently controllable sections, it focuses on investigating the mechanisms at work behind flavour development, and developing general trends concerning the shift of the flavour due to that change.
We should also extend our thanks to the guys at Nossa Familia Coffee who have given Rob the time (and coffee!) to experiment around with – and add that all of the coffee used in the larger roaster experiments is donated to charity and that no animals were hurt in the experiments!